

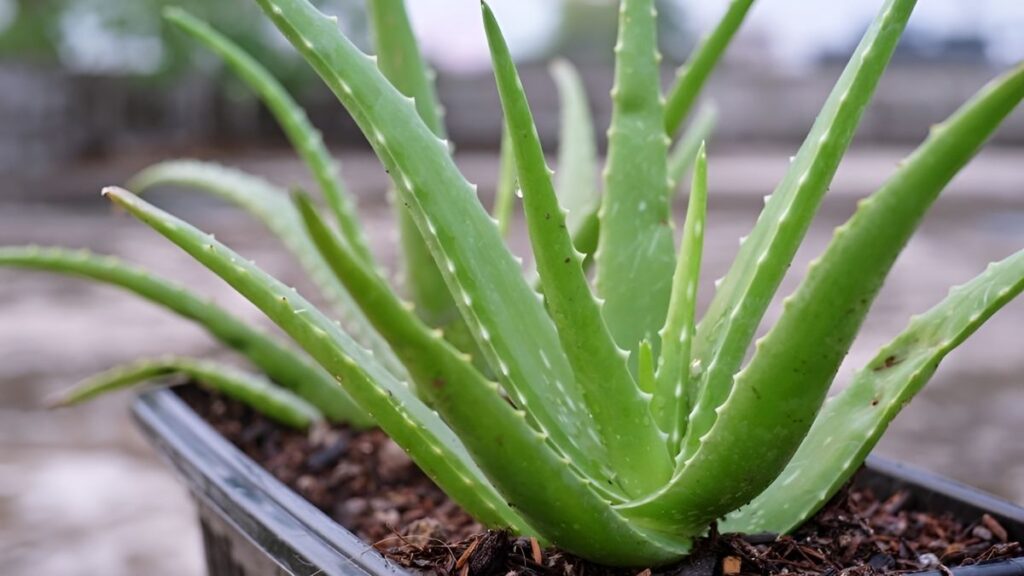
Aloe Vera is a popular and hardy plant known for its soothing properties and low maintenance. It’s a fantastic addition to any home and offers a natural remedy for skin irritations and burns. Propagating Aloe Vera at home is a simple and rewarding process. Whether you want to share the plant with friends or expand your collection, propagating Aloe Vera can be done easily from the comfort of your home. This guide will take you through the steps to successfully propagate Aloe Vera.
What You Need to Know About Aloe Vera Propagation
Before diving into the propagation process, it’s essential to understand the two main ways to propagate Aloe Vera: by offsets (also known as “pups”) and by leaf cuttings. Offsets are the small baby plants that grow at the base of the main Aloe Vera plant, while leaf cuttings involve taking a piece of an Aloe Vera leaf and encouraging it to grow roots. Both methods are effective, but offset propagation is generally easier and faster.
Materials Needed for Aloe Vera Propagation
To propagate Aloe Vera, you will need a few basic materials:
- Healthy Aloe Vera plant
- Sharp knife or pruning shears
- Small pots or containers
- Cactus or succulent potting mix (well-draining soil)
- Watering can
- Rooting hormone (optional)
Step 1: Choosing the Right Aloe Vera Plant

Start with a healthy, mature Aloe Vera plant. It should have several offsets (pups) growing around its base. If you’re using a leaf cutting, ensure the parent plant is in good condition and free of diseases or pests.
Step 2: Preparing the Tools and Workspace
Before you begin, gather all the tools you’ll need: a sharp knife or shears, a small pot, potting mix, and, if you choose to use it, rooting hormone. Make sure the workspace is clean and the tools are sanitized to avoid transferring any bacteria or fungi to the plants.
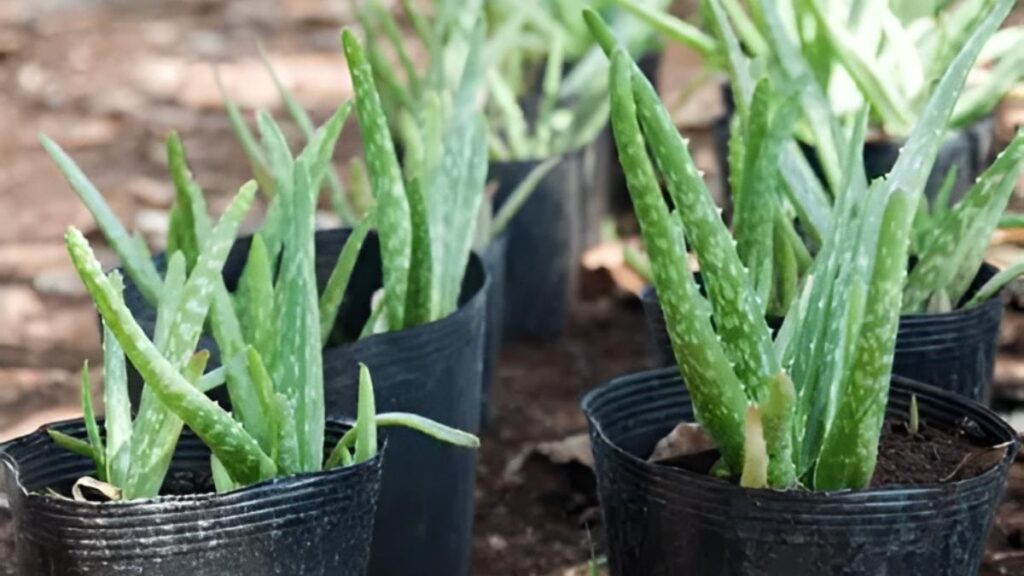
Step 3: Propagating Using Offsets (Pups)
Offsets or pups are small Aloe Vera plants that grow naturally at the base of the parent plant. They can be separated and planted individually to grow into new plants.
- Remove the Parent Plant: Gently remove the parent Aloe Vera plant from its pot. Be careful not to damage the roots.
- Separate the Offsets: Locate the pups growing at the base. Use your hands or a sharp knife to carefully separate them from the main plant. Make sure each pup has some roots attached.
- Let Them Dry: Allow the separated pups to dry for a day or two in a shaded area. This helps the cut surfaces to heal and reduces the risk of rotting when planted.
- Prepare the New Pot: Fill a small pot with well-draining cactus or succulent soil. The pot should have drainage holes to prevent water from collecting at the bottom.
- Plant the Offset: Once the pups have dried, place them into the new pot. Ensure that the roots are covered with soil but not buried too deeply. The plant should sit upright and stable.
- Watering: Water the plant lightly after planting. Make sure not to overwater, as Aloe Vera plants are susceptible to root rot. Let the soil dry out completely before watering again.
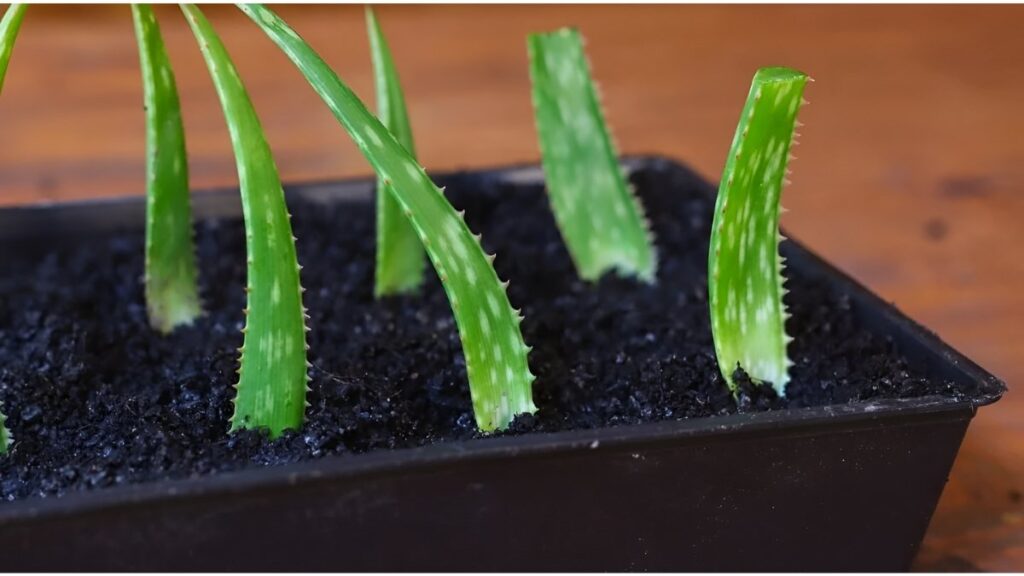
Step 4: Propagating Using Leaf Cuttings
Leaf cuttings are another way to propagate Aloe Vera, though it takes longer and requires more patience than offset propagation. Here’s how to do it:

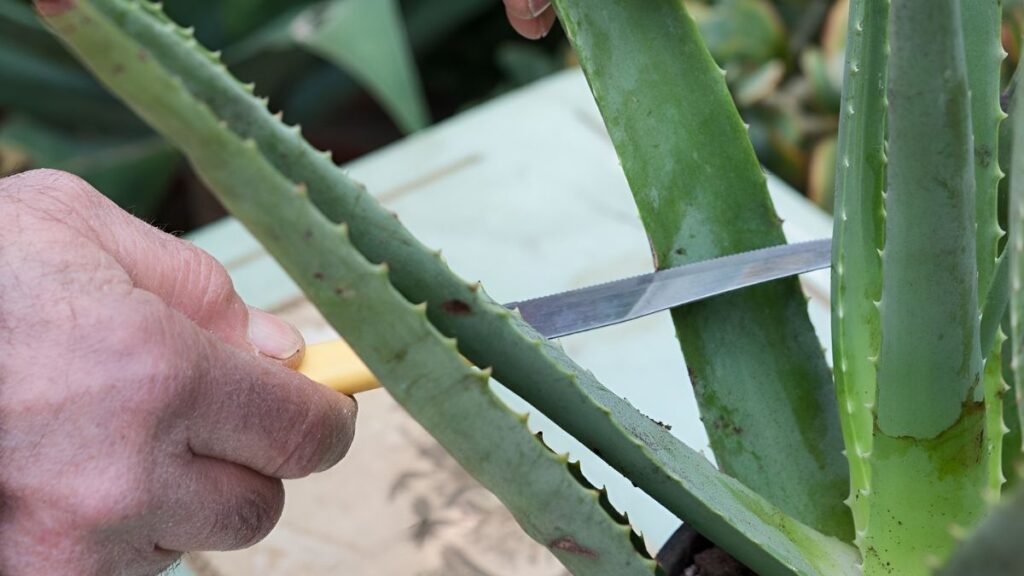
- Select a Healthy Leaf: Choose a mature, healthy Aloe Vera leaf from the base of the plant. The leaf should be thick and firm, with no signs of damage or disease.
- Cut the Leaf: Using a clean, sharp knife, cut the leaf at the base. Try to cut as close to the stem as possible. The leaf should be several inches long for the best chance of success.
- Let the Leaf Heal: Place the cut leaf in a dry, shaded area for 1-2 days. This step allows the cut end to form a protective callus, which reduces the risk of rotting.
- Prepare the Pot: Fill a small pot with cactus or succulent potting mix. Make sure the pot has good drainage, as Aloe Vera does not like sitting in water.
- Plant the Leaf: After the leaf has dried, insert the cut end into the soil about an inch deep. You don’t need to bury it too deeply just enough to keep it upright.
- Water Lightly: After planting the leaf, water it lightly. Make sure the soil is dry before watering again. Overwatering can lead to rotting, so it’s crucial to allow the soil to dry between waterings.
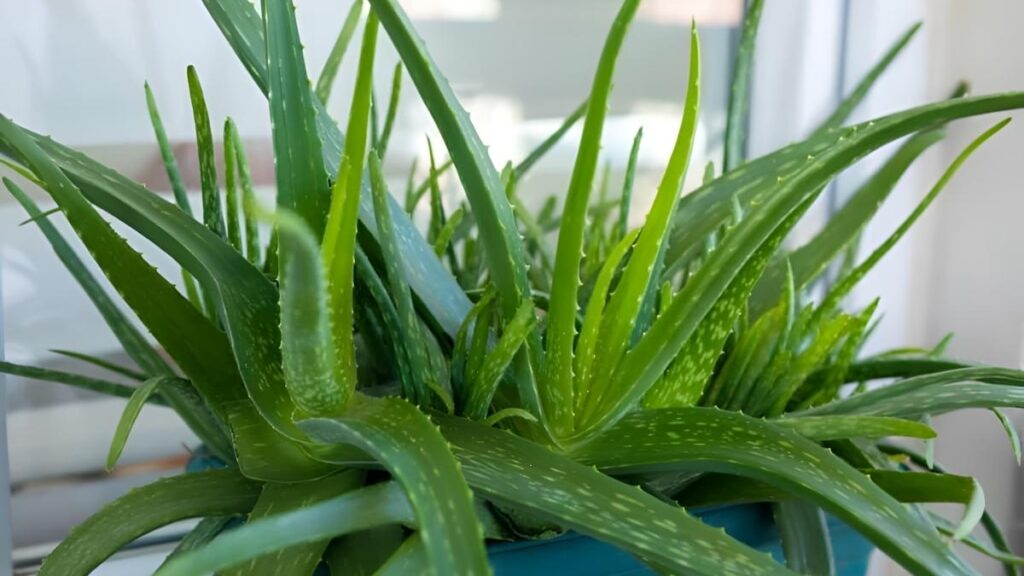
Step 5: Caring for New Aloe Vera Plants
Once your Aloe Vera pups or leaf cuttings are planted, they need the right care to thrive. Here are some tips to help them grow:
- Location: Place the pot in a bright, indirect sunlight area. Aloe Vera plants need plenty of light, but direct sunlight can scorch young plants.
- Watering: Aloe Vera is a drought-tolerant plant. Water it sparingly, especially when it’s still young. Only water when the soil is completely dry to the touch. Overwatering is one of the most common causes of Aloe Vera plant failure.
- Soil: Aloe Vera prefers well-draining soil. Cactus or succulent soil is ideal, but you can also mix regular potting soil with sand to improve drainage.
- Temperature: Aloe Vera thrives in warm temperatures. Keep the plant in an area where the temperature is between 60°F and 85°F (15°C to 29°C).
Step 6: Repotting Aloe Vera
As your Aloe Vera plant grows, it may outgrow its pot. When the plant becomes root-bound or the offsets have multiplied, it’s time to repot the plant into a larger container. Repotting is best done during the spring or summer when the plant is actively growing.
Step 7: Troubleshooting
While Aloe Vera is a hardy plant, it may face some challenges. Here are a few common issues and how to address them:

- Yellow Leaves: This could be a sign of overwatering. Allow the soil to dry completely before watering again.
- Brown Tips: Aloe Vera plants may develop brown tips if they’re exposed to too much direct sunlight. Move them to a location with indirect sunlight.
- Root Rot: If the leaves become mushy or the plant begins to smell, it may have root rot. This can happen if the plant is overwatered or not planted in well-draining soil. Trim away any affected roots and repot the plant in fresh soil.
Conclusion
Propagating Aloe Vera at home is a simple, cost-effective way to expand your plant collection or share your love for this beneficial succulent with others. Whether you choose to propagate through offsets or leaf cuttings, the process is rewarding and relatively easy. By following the proper steps and providing the right care, you’ll soon have a healthy, thriving Aloe Vera plant that will grow for years to come.