
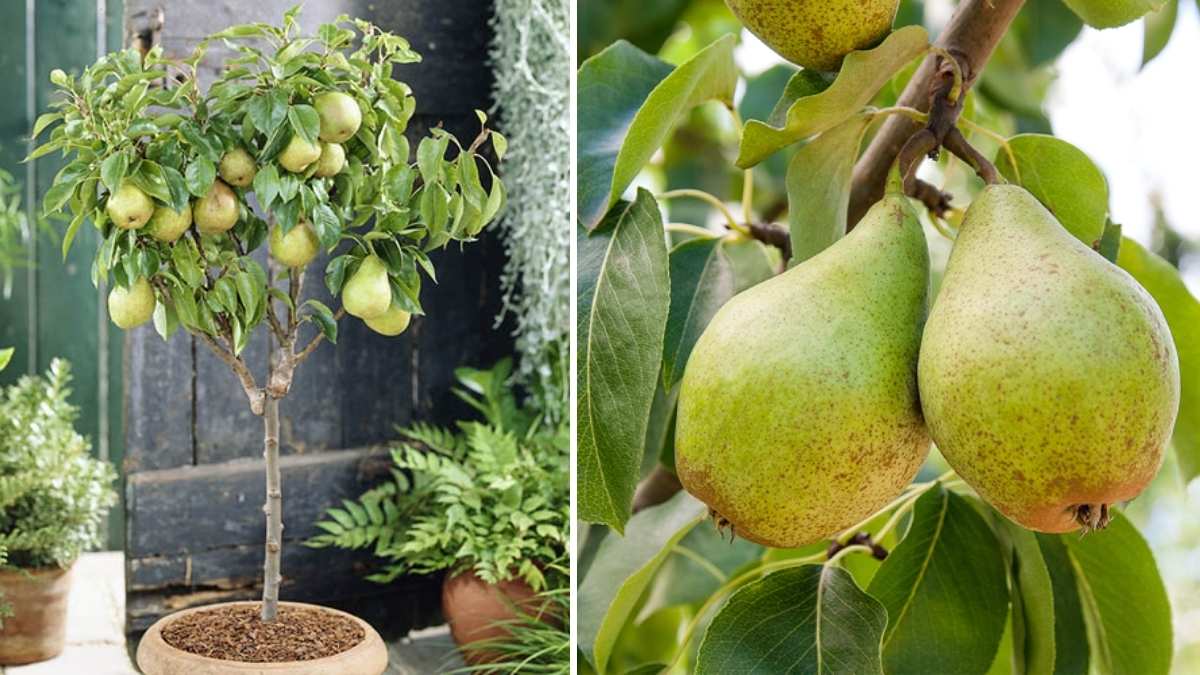
Growing pear trees in containers is a wonderful way to enjoy fresh, juicy pears right from your balcony, patio, or small backyard. Even if you don’t have a large garden, container growing allows you to savor the beauty and sweetness of homegrown pears. With the right care and a little patience, you can cultivate healthy pear trees that reward you with delicious fruits season after season.
Why Grow Pear Trees in Containers?
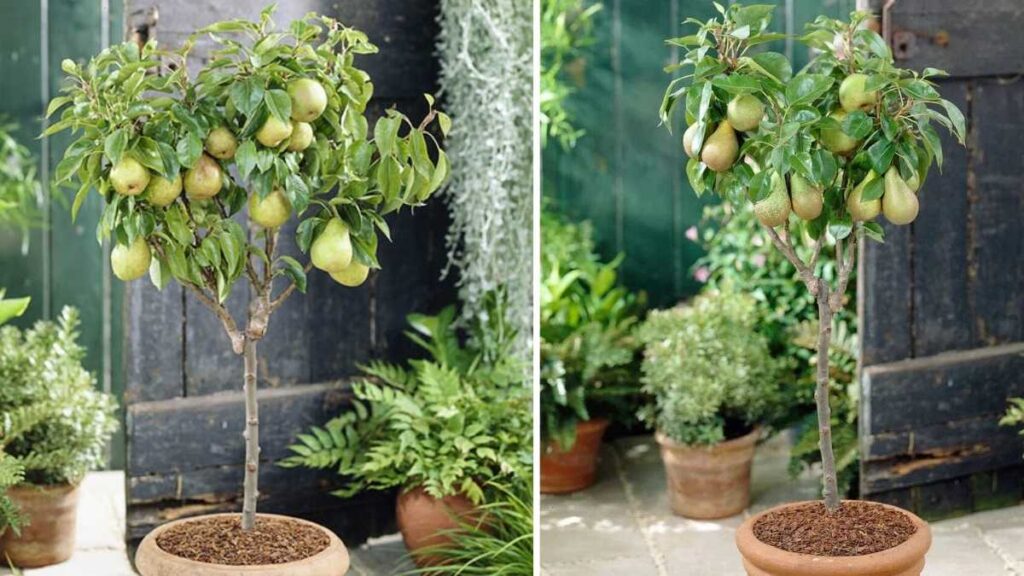
Container gardening is perfect for those who love fruit trees but have limited space. Pear trees, when grown in pots, are easier to manage and maintain compared to those planted in the ground. You can move the containers around to ensure they get the right amount of sunlight and protect them from harsh weather. Plus, watching your own pear tree blossom and bear fruit is both rewarding and satisfying.
Another advantage is pest and disease control containers allow better monitoring and soil management. And let’s not forget the aesthetic appeal: a small pear tree with glossy green leaves and hanging golden fruits can instantly brighten up any outdoor space.
Materials You’ll Need
Before you start, gather the essentials:
- A young pear tree (choose a dwarf or semi-dwarf variety)
- A large container (at least 18–24 inches deep)
- High-quality potting mix (well-draining soil is key)
- Compost or organic fertilizer
- Mulch (optional, but helps retain moisture)
- Watering can or hose with a gentle spray nozzle
- A sunny location (6–8 hours of direct sunlight daily)
Step 1: Choose the Right Variety
When growing pear trees in containers, it’s important to pick a variety suited for pot cultivation. Dwarf varieties like ‘Williams’ Bon Chrétien’, ‘Conference’, ‘Comice’, or ‘Asian Pears’ are excellent choices. These smaller trees stay compact while producing full-sized fruits. Also, remember that some pear trees need cross-pollination so having two compatible varieties nearby can improve fruit yield.
Step 2: Prepare the Container
Select a sturdy pot with good drainage holes at the bottom. Pear trees don’t like soggy roots, so make sure excess water can escape easily. Fill the container with a mix of quality potting soil, compost, and perlite or sand for better aeration. This combination provides nutrients while keeping the soil loose and well-drained.
Before planting, place a few stones or broken pottery pieces at the base of the pot to prevent soil from clogging the drainage holes.
Step 3: Planting the Pear Tree
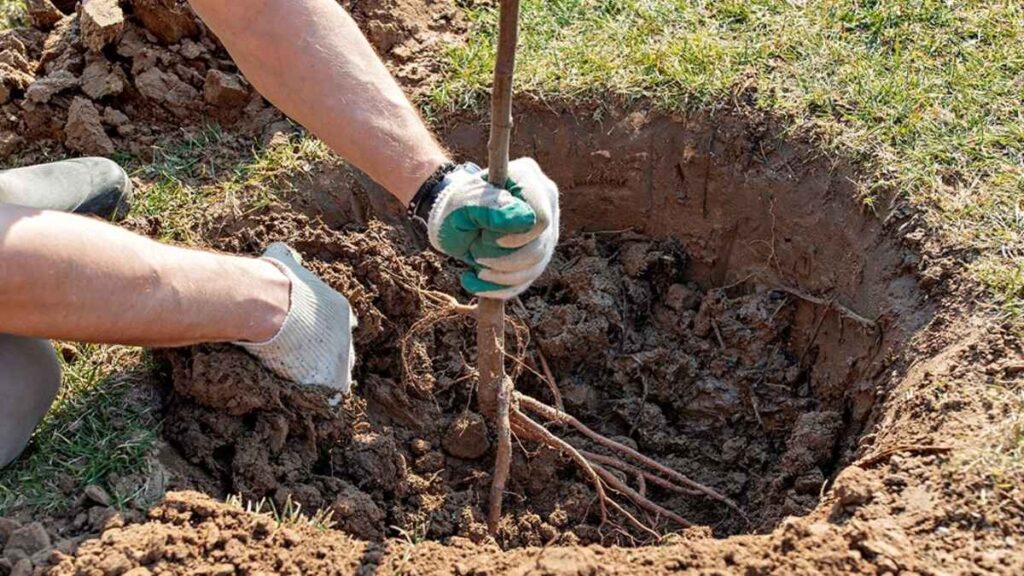
Gently remove the young pear tree from its nursery pot, taking care not to damage the roots. Place it in the center of your container and fill in the gaps with the potting mix. The top of the root ball should sit just below the rim of the container. Firm the soil gently around the base and water thoroughly to help it settle.
If you’re planting more than one pear tree, keep them a few feet apart to allow proper air circulation.
Step 4: Find the Perfect Spot
Pear trees love sunlight. Choose a sunny spot on your balcony, terrace, or garden where the tree can receive at least 6–8 hours of direct sunlight daily. If you live in a cooler region, place your container against a south-facing wall to protect it from cold winds and help retain warmth.
During extreme summer heat, a little afternoon shade can prevent leaf scorch.
Step 5: Watering and Feeding
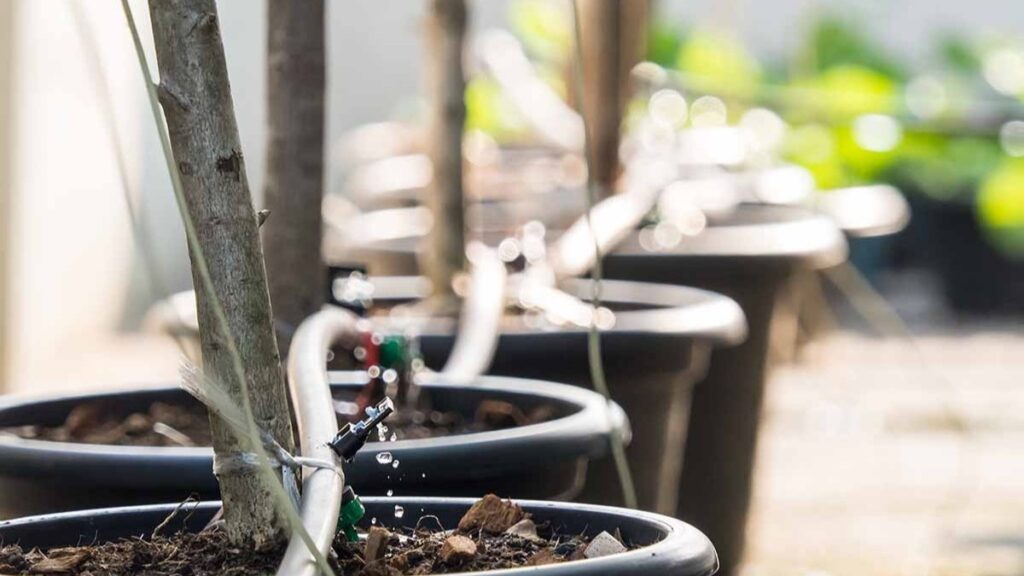
Consistency is key when it comes to watering pear trees. Keep the soil moist but not waterlogged. In hot weather, you might need to water every other day, while in cooler months, once or twice a week may be enough. Always check the top inch of soil if it feels dry, it’s time to water.
Feed your pear tree every 4–6 weeks during the growing season with an organic, fruit-tree fertilizer. Compost tea or slow-release pellets also work well. Avoid over-fertilizing, as this can lead to excessive leaf growth and fewer fruits.
Step 6: Pruning and Maintenance
Pruning helps your pear tree stay healthy and productive. During late winter or early spring, trim away dead or crossing branches to improve airflow. Shape the tree to maintain a balanced structure this encourages better sunlight penetration and fruit development.
Check regularly for pests such as aphids or pear leaf mites. If spotted, treat with organic neem oil or insecticidal soap.
Step 7: Pollination and Fruiting
Most pear trees need another variety nearby for pollination. If space is limited, you can hand-pollinate by transferring pollen from one flower to another using a small brush. Once the flowers fade, tiny fruits will begin to form a sign your care is paying off!
To help the fruits grow larger and juicier, thin out some of the smaller pears early in the season, leaving about 4–6 inches between each fruit.
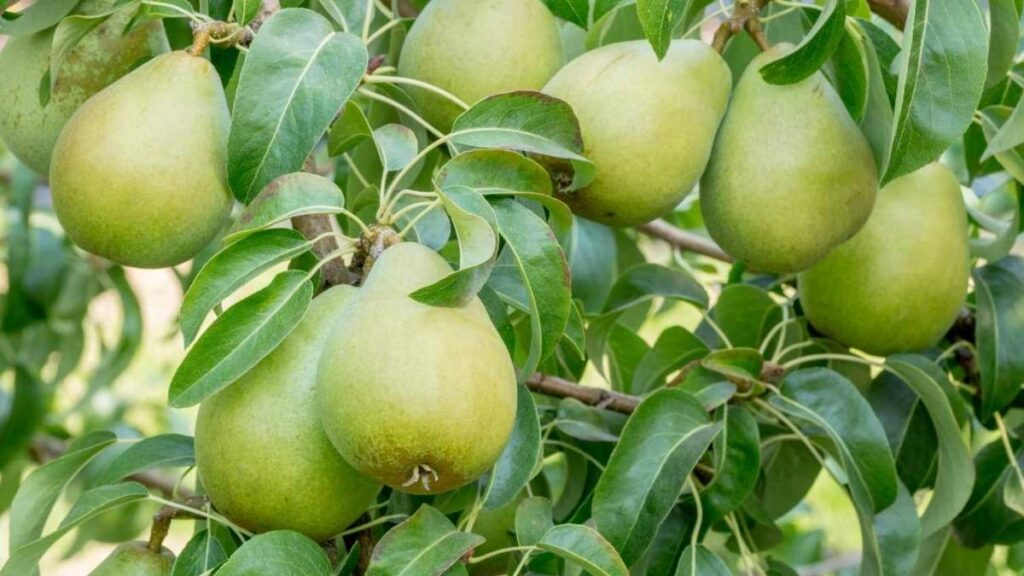
Step 8: Harvesting Your Pears
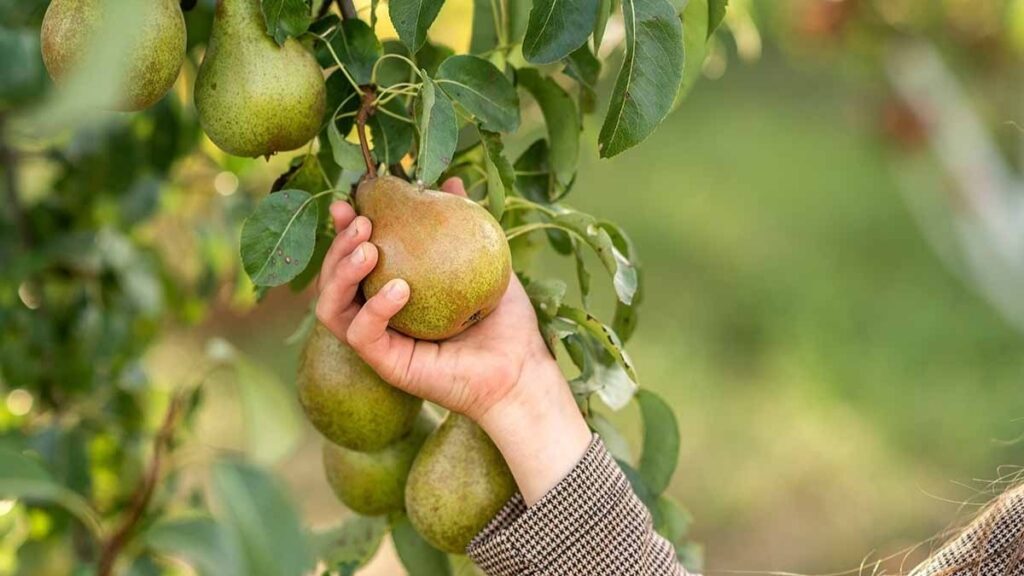
Pears are typically ready for harvest in late summer to early autumn. The trick is to pick them when they’re mature but still slightly firm, as they ripen best off the tree. Gently twist each pear to detach it without damaging the stem. Allow them to ripen indoors at room temperature for a few days until they become soft and aromatic.
Step 9: Winter Care
In colder regions, protect your potted pear tree during winter. Move it to a sheltered area or wrap the container with burlap or insulating material to shield the roots from frost. Reduce watering during dormancy, keeping the soil just slightly moist.
Conclusion
Growing pear trees in containers is a delightful and rewarding experience, even for beginners. With the right variety, good sunlight, and consistent care, you can enjoy the luxury of harvesting fresh, juicy pears from your own home. Whether you have a sunny balcony or a cozy patio, a container-grown pear tree adds beauty, fragrance, and sweetness to your space one delicious fruit at a time.