
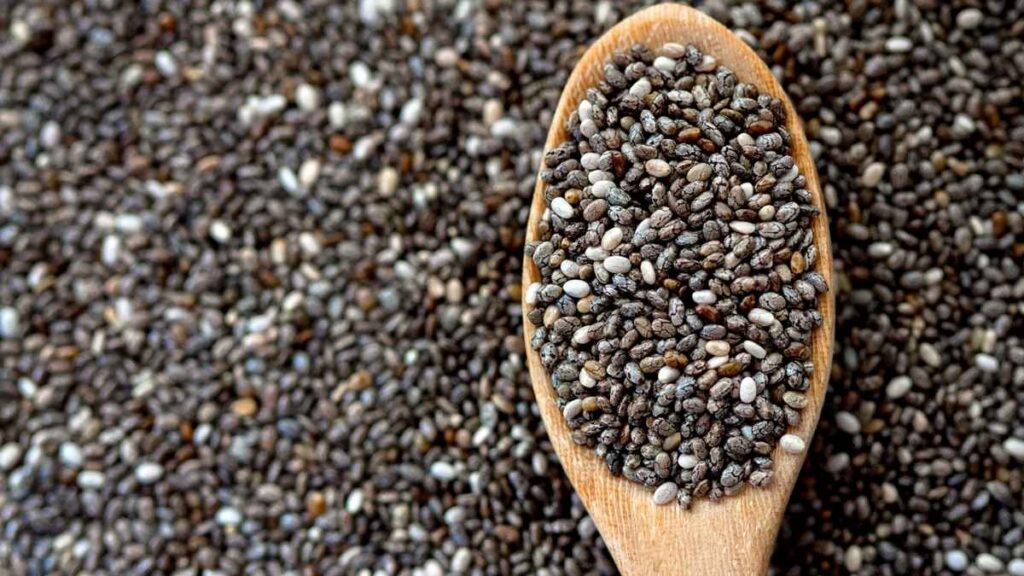
Growing chia seeds indoors without soil is an exciting and rewarding activity that can be done by anyone, regardless of space or gardening experience. Chia seeds are incredibly nutritious, rich in omega-3 fatty acids, fiber, and protein. Best of all, they are simple to grow, and you don’t need a garden to enjoy the benefits of fresh sprouts. In this guide, we’ll take you through the step-by-step process of growing chia seeds indoors using an alternative method: hydroponics, which means growing without soil.
Why Grow Chia Seeds Indoors?
Growing chia seeds indoors offers several benefits. First, chia seeds are easy to grow and don’t require much space. You can grow them in small containers on a windowsill or even in a kitchen corner. Secondly, chia sprouts are highly nutritious and can be used in various recipes like smoothies, salads, or even as a topping for yogurt. Lastly, the process of growing chia seeds indoors can be both fun and educational, making it a great project for kids and adults alike.
Materials You Will Need
Before you start, gather the necessary materials. Here’s a simple list to get you started:
- Chia seeds (you can find these at health food stores or online)
- A shallow container or tray (a seed tray or even a shallow baking dish will work)
- Water (filtered water is best)
- A piece of cheesecloth or a fine mesh screen
- A rubber band or string to secure the cheesecloth
- A spray bottle (optional)
- A sunny windowsill or a place with indirect sunlight
Step-by-Step Guide to Growing Chia Seeds Indoors Without Soil
Step 1: Prepare Your Tray
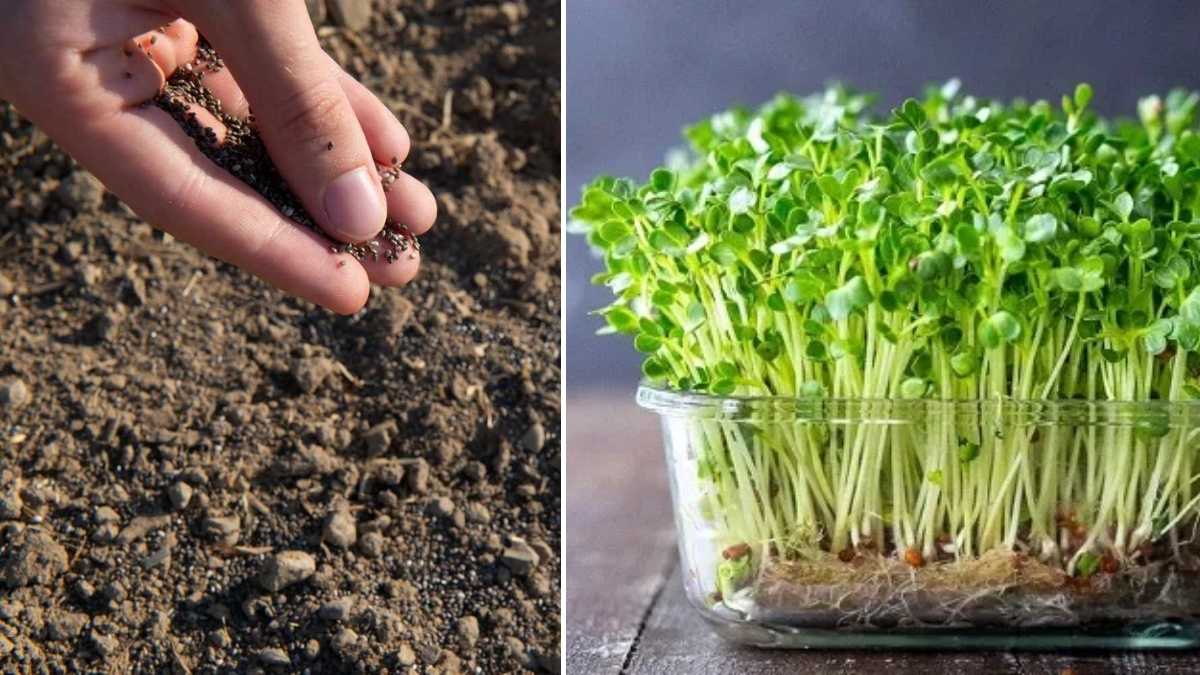
Start by selecting a shallow container to grow your chia seeds in. This could be a small plastic or glass tray, a shallow baking dish, or any container with low sides. The key is to have enough space for the seeds to spread out and sprout without overcrowding. Clean the container thoroughly to ensure there is no residue that could harm the seeds.
Step 2: Soak the Chia Seeds
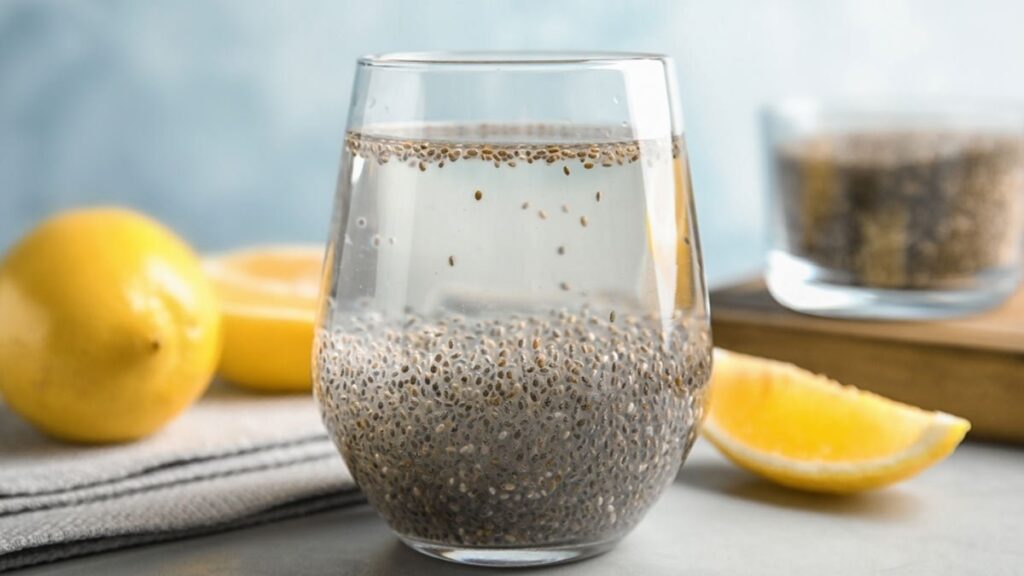
Chia seeds need to be soaked before planting. This helps them germinate faster. Take about two tablespoons of chia seeds and place them in a bowl. Cover the seeds with water, ensuring they are submerged. Let them soak for about 30 minutes to an hour. During this time, the seeds will form a gel-like coating, which is part of their natural ability to retain water.
Step 3: Set Up Your Growing Surface
Once the chia seeds have soaked, it’s time to set up the growing surface. Place a piece of cheesecloth or a fine mesh screen over the shallow container you prepared earlier. The cloth will allow air circulation and keep the seeds from falling through. Secure the cheesecloth with a rubber band or string around the edges to keep it in place.
Step 4: Spread the Chia Seeds
Now that your growing surface is ready, take the soaked chia seeds and spread them evenly over the cheesecloth. You don’t need to press them down; just sprinkle them lightly. Make sure the seeds are spaced out, but not too far apart. They should be able to grow into small clusters without crowding each other too much.
Step 5: Watering and Maintenance
Watering chia seeds is simple. Use a spray bottle to mist the seeds lightly, ensuring the surface remains moist but not soaking wet. Overwatering can lead to mold growth, so it’s important to maintain a balance. The soil-free growing method works best in a humid environment, so mist the seeds daily to keep them hydrated. Check the seeds every day to see if they need more water. If you notice any water pooling on the cloth, gently drain it.
Step 6: Provide Adequate Light
Chia seeds need plenty of light to germinate and grow. Place your container in a location that receives indirect sunlight for at least 4-6 hours a day. A windowsill with morning sun is ideal, as it offers a good balance of light and warmth. Avoid placing the seeds in direct sunlight, as it may dry them out too quickly.
Step 7: Watch the Seeds Grow
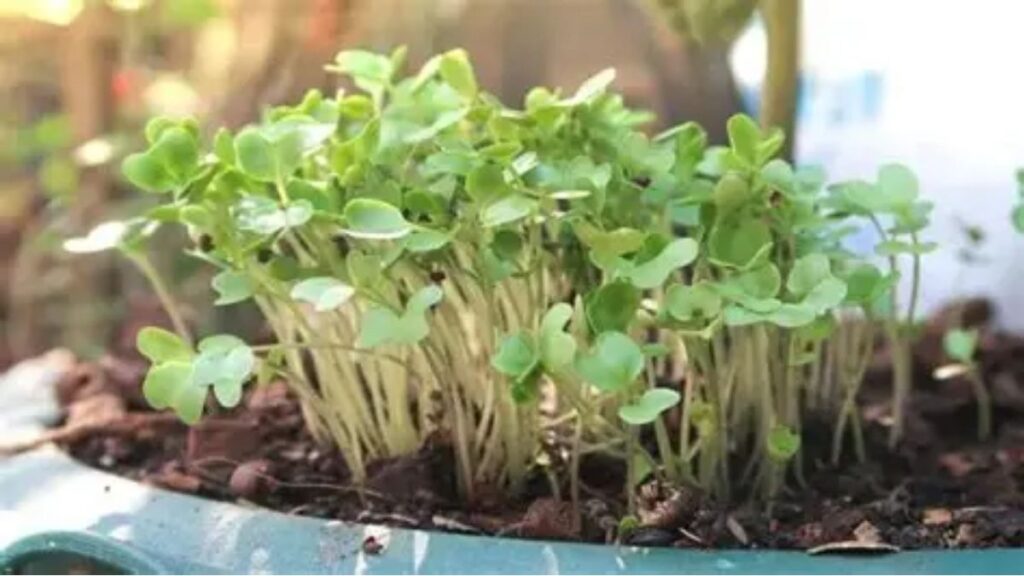
Within a few days, you will start to see tiny shoots emerging from the chia seeds. This is the beginning of the sprouting process. Over the next few days, the sprouts will grow taller and start to look like small grass blades. Keep misting the seeds and check that they remain moist. Be patient, as it may take up to two weeks for the chia sprouts to reach a height where you can harvest them.
Step 8: Harvest the Chia Sprouts
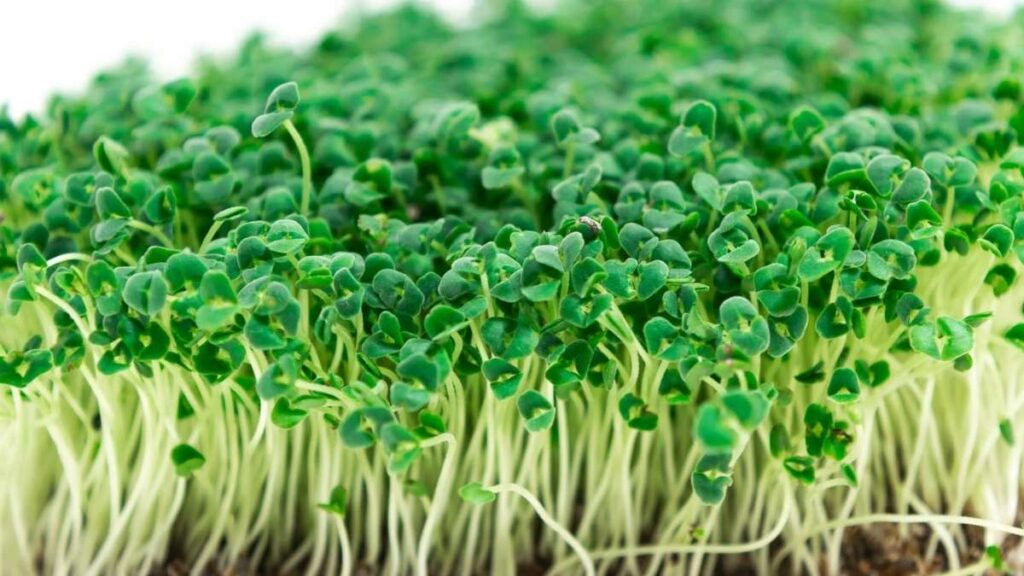
After about 10-14 days, your chia sprouts will be ready to harvest. The sprouts should be about 2-4 inches tall. At this stage, you can gently cut them with scissors. You can harvest small amounts at a time, allowing the rest of the seeds to continue growing. Fresh chia sprouts can be added to salads, smoothies, or sandwiches for an added nutritional boost.
Tips for Growing Chia Seeds Indoors Without Soil
- Watering: Be mindful of the water level. Chia seeds need a lot of water, but they can also rot if left in standing water. Use a misting spray bottle to control the amount of moisture.
- Humidity: Chia seeds thrive in a humid environment. If the air in your home is dry, you can place the container in a shallow dish of water to maintain moisture, but be sure the seeds don’t sit directly in water.
- Light: Ensure your chia seeds get enough light. If natural light is scarce, consider using a grow light. However, keep the light at a distance to avoid overheating the sprouts.
- Harvesting: Only harvest a portion of the sprouts at a time, so you can keep growing and enjoying fresh chia sprouts for a longer period.
Conclusion
Growing chia seeds indoors without soil is an easy and enjoyable process that requires very little effort and space. By following the steps outlined above, you can grow your own nutritious chia sprouts right at home. Whether you’re interested in adding fresh greens to your meals or simply want to try something new, growing chia seeds indoors is a perfect project for anyone. With a little patience and care, you’ll have fresh, homegrown chia sprouts to enjoy in no time. Happy gardening!