
Cabbage is one of those vegetables that anyone can grow, whether you have a big backyard or just a small garden patch. It’s a cool-weather crop that has been part of American gardens for a long time. Known for its crunch and versatility, cabbage can be used in salads, soups, and even fermented dishes like sauerkraut. Growing cabbage from seed is simple if you follow a few important steps, and the satisfaction of harvesting fresh cabbage from your garden is worth every bit of effort.
Why Grow Cabbage at Home?
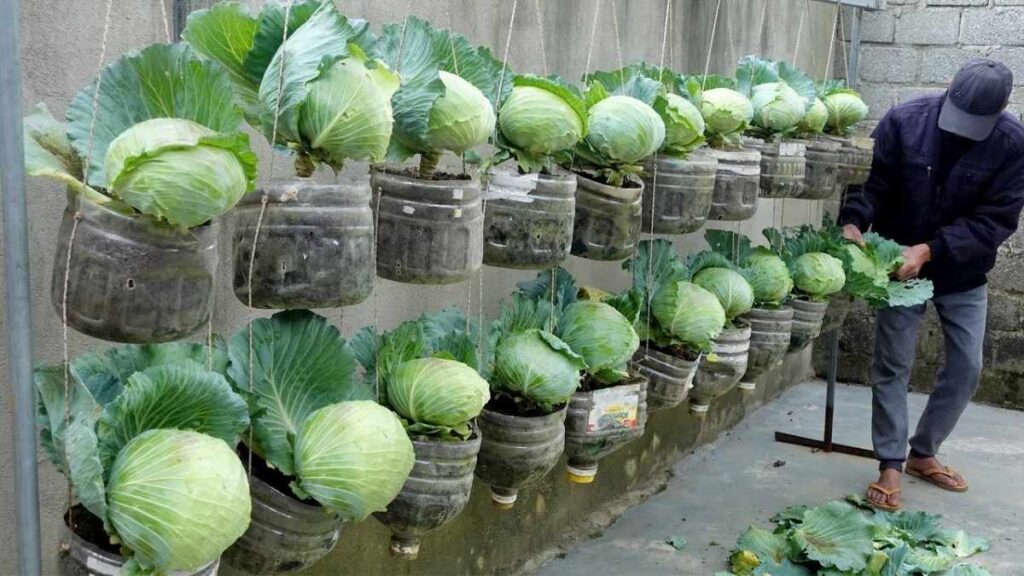
Cabbage is a great vegetable for home gardeners because it is hardy and reliable. It grows well in cool seasons and can withstand some tough weather. It doesn’t take up much space, making it perfect for small gardens or containers. Cabbage is also very nutritious, loaded with vitamins like C and K, and fiber. Plus, once harvested, it stores well in the fridge for weeks. If you want a vegetable that offers good yields with moderate care, cabbage is a top choice.
Choosing the Right Cabbage Variety
Before planting, pick the right kind of cabbage for your needs. There are several common types:
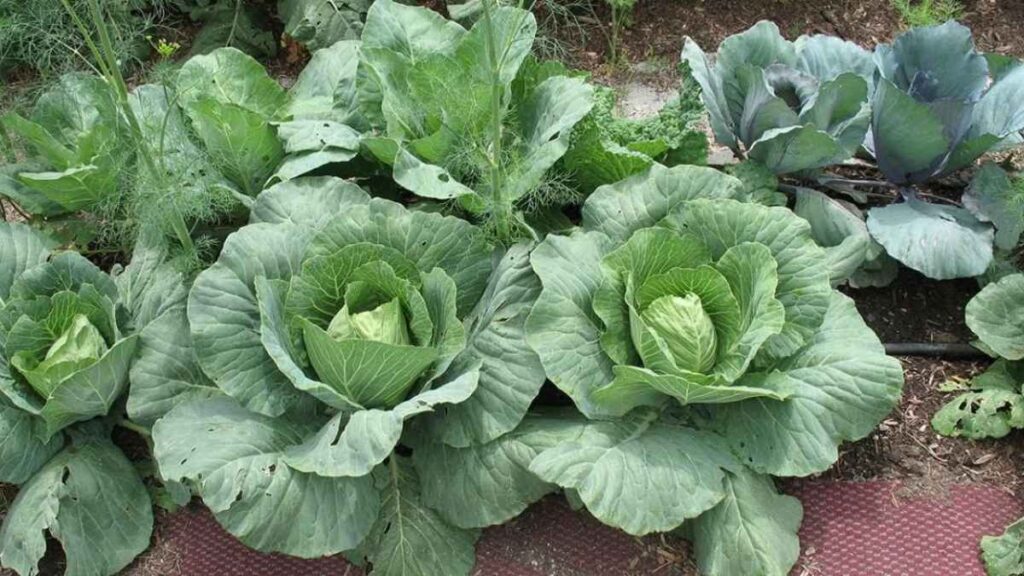
- Green cabbage: The classic variety, great for coleslaw, salads, and cooking.
- Red cabbage: Has a deep purple color and a slightly sharper taste. It brightens up dishes.
- Savoy cabbage: With crinkly leaves and a tender texture, it’s perfect for wraps and cooking.
- Napa cabbage: Also called Chinese cabbage, softer and used a lot in Asian cooking.
Some popular garden varieties include Golden Acre (good for small spaces), Late Flat Dutch (great for storage), and Red Express (early and colorful). Choosing a mix of varieties can help you enjoy fresh cabbage throughout the growing season.
When and Where to Plant Cabbage
Cabbage prefers cool weather, so timing is key. In warmer regions, plant in late fall or winter for an early spring harvest. In colder areas, start seeds indoors about six to eight weeks before the last frost date, then transplant seedlings outdoors once the soil warms.
Plant cabbage in a sunny spot where it will get at least six hours of direct sunlight. The soil should be rich in organic matter, loose, and well-draining with a pH between 6.0 and 7.5. Avoid planting cabbage where other related plants like broccoli or kale have recently grown to reduce the risk of pests and diseases.
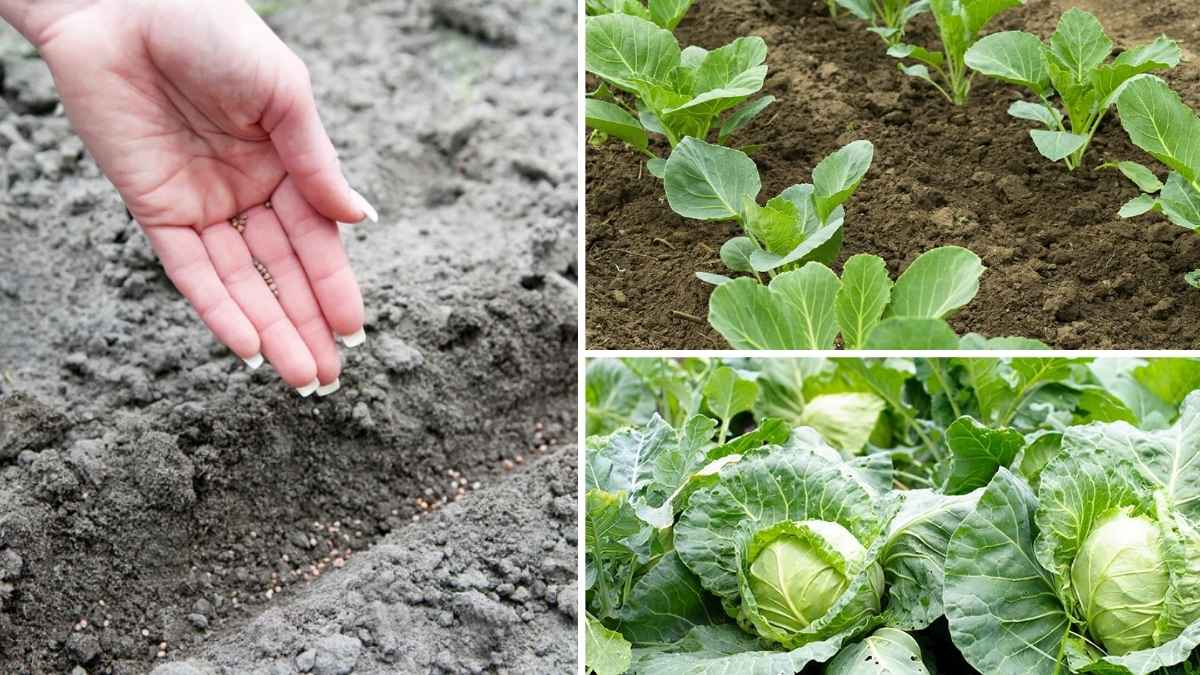
Starting Cabbage Seeds Indoors
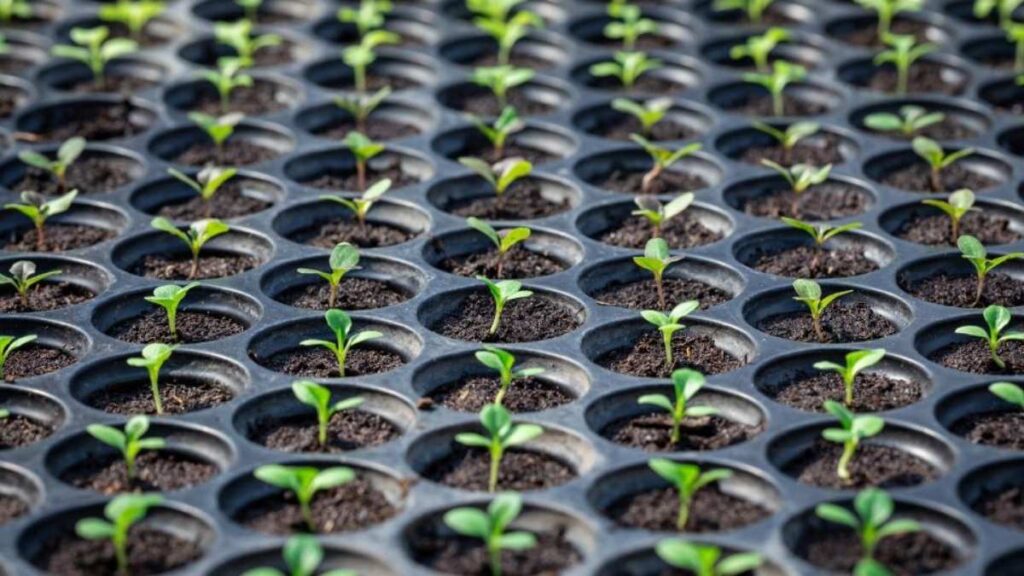
Starting seeds indoors gives your plants a head start. Sow cabbage seeds about a quarter-inch deep in seed trays filled with seed-starting mix. Keep the soil moist and place the trays in a warm spot with temperatures between 65 and 75°F. Seeds usually sprout in a week.
Once seedlings have 4 to 6 true leaves and are about 4 inches tall, they are ready to be moved outside. Before transplanting, harden off the seedlings by gradually exposing them to outdoor conditions for about a week. This helps them adjust and reduces transplant shock.
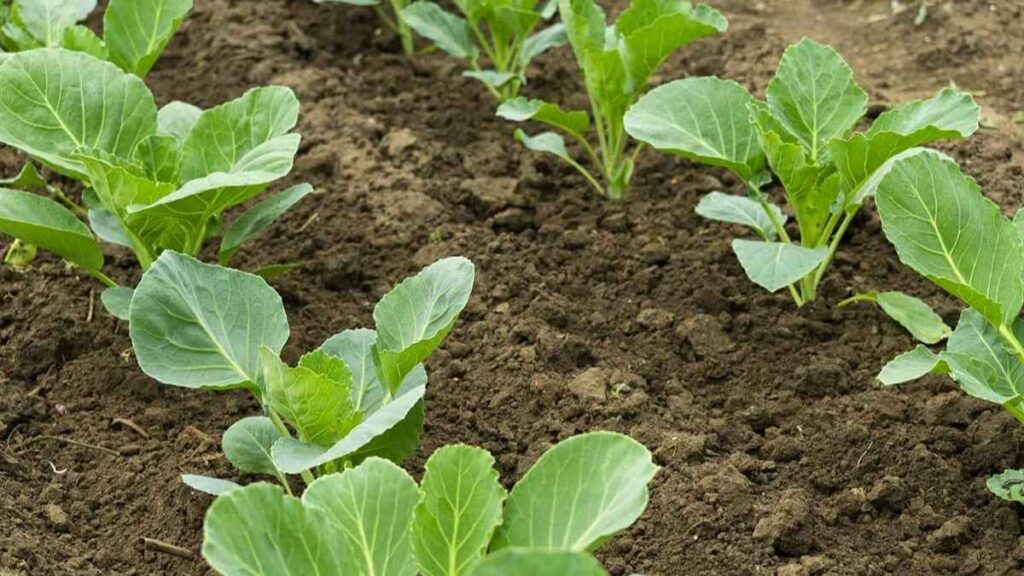
Transplanting and Spacing
When transplanting, space cabbage plants 18 to 24 inches apart in rows that are about 2 to 3 feet apart. This gives them room to grow big, firm heads. Dig holes deep enough to cover the stem up to the first leaves and water well after planting to settle the soil around the roots.
If you live in an area prone to pests or cold snaps, consider using row covers to protect young plants.
Caring for Your Growing Cabbage
Water your cabbage regularly. It needs consistent moisture to develop tight, crunchy heads. Deep watering once or twice a week is best, especially in dry weather. Avoid overwatering to prevent root problems.
Feeding your plants is important too. About three weeks after transplanting, apply a balanced fertilizer or compost tea to encourage leafy growth. Mulching around plants helps keep moisture in the soil, controls weeds, and regulates temperature.
Keep an eye out for pests like cabbage worms, aphids, and flea beetles. You can handpick them or use natural remedies like neem oil or insecticidal soap. Crop rotation and companion planting with herbs like dill and rosemary can also reduce pest problems.
Harvesting Your Cabbage
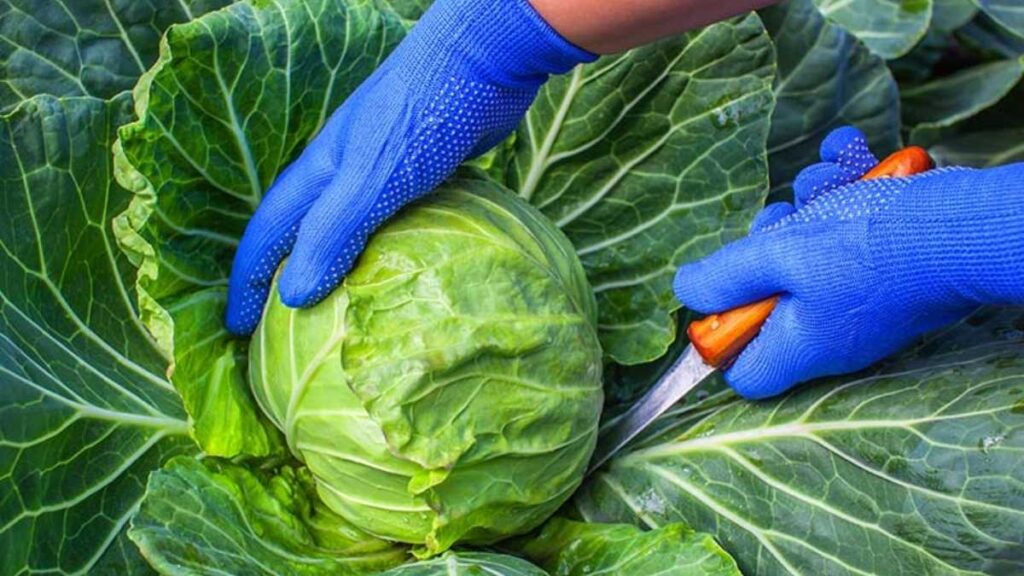
Cabbage is ready to harvest when the heads feel firm and solid to the touch. Depending on the variety, this usually happens 70 to 100 days after planting. Use a sharp knife to cut the head at the base, leaving the outer leaves and roots in the ground. Sometimes, smaller side heads will develop for a second harvest.
If heavy rain is expected and the heads are mature, twist them gently to break some roots and avoid splitting.
Storing and Using Your Harvest
Fresh cabbage stores well in the fridge for up to three weeks. Keep it unwashed in a perforated plastic bag to maintain crispness. For longer storage, place cabbage in a cool, dark, and humid area at about 32 to 40°F. You can also freeze cabbage after blanching or ferment it into sauerkraut or kimchi to enjoy its goodness year-round.
Cabbage is a versatile vegetable use it in salads, soups, stir-fries, or fermented dishes. The flavor and texture of homegrown cabbage are always superior to store-bought ones.
Common Problems and Solutions
Sometimes cabbage plants face challenges:
- Loose heads happen mostly due to hot weather. Try planting earlier or use shade cloth.
- Split heads usually come from uneven watering. Keep the soil evenly moist.
- Yellow leaves may mean your plant needs more nutrients. Add compost or fertilizer.
- Bolting, or early flowering, happens in high heat. Stick to cooler planting times.
With a little care, you can avoid these problems and enjoy healthy, tasty cabbage.
Final Thoughts
Growing cabbage from seed to table is a rewarding gardening experience. With simple steps like choosing the right variety, proper planting, watering, and pest care, you can harvest fresh, crisp heads that bring a fresh touch to your meals.
Whether you’re a beginner or a seasoned gardener, cabbage is a dependable crop that offers delicious results and health benefits. So, start your seeds, nurture your plants, and get ready to enjoy the fruits of your labor straight from your garden!