

Garlic is one of the most useful and easy crops to grow at home. It doesn’t take much space and needs very little care after planting. If planted at the right time, garlic can be harvested in spring with fresh flavor and great health benefits. Whether you are new to gardening or have experience, growing garlic can be simple and fun.
Understand How to Grow Garlic
Garlic is a plant that grows from a clove, and each clove turns into a full bulb. It is very easy to grow in a garden and does not need much space or care. You just need good soil, sunlight, and the right time to plant. Garlic grows slowly but gives fresh and strong flavor when ready. Below, we will look at the proper steps to grow garlic in your garden easily.
Best Time to Plant Garlic

Garlic is usually planted in the fall before the ground freezes. This gives the cloves time to grow roots before winter. During cold months, garlic stays dormant but starts growing again when spring begins.
The best time to plant garlic is between late October and early December, depending on how cold your area gets. If winters are mild in your region, you can plant a little later.
Types of Garlic to Grow
There are two main types of garlic: softneck and hardneck.
Softneck garlic grows well in warmer areas. It stores for a long time and has more cloves. Hardneck garlic grows better in cold regions. It has a stronger taste and grows garlic scapes, which can also be eaten in spring.
Try to buy garlic from a garden center or seed supplier, not the grocery store. Grocery store garlic may not grow well, as it’s often treated to stop sprouting.
Step-by-Step Guide to Grow Garlic
Here is a simple step-by-step process to grow garlic for a spring harvest:
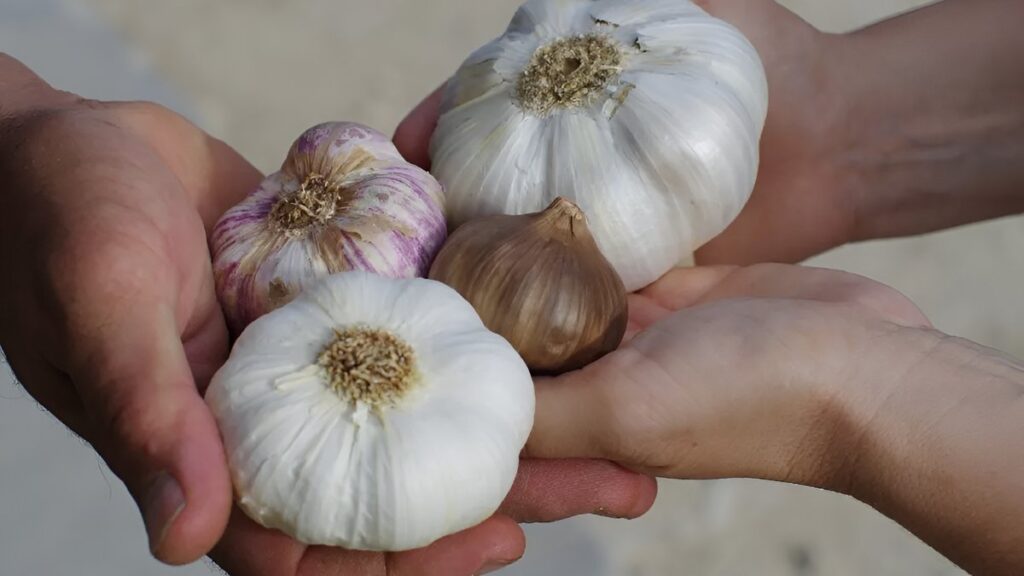
Step 1: Choose Garlic Bulbs
Pick healthy, large garlic bulbs. Break them into cloves gently. Do not peel the cloves. Each clove will grow into one full bulb.

Step 2: Prepare the Soil
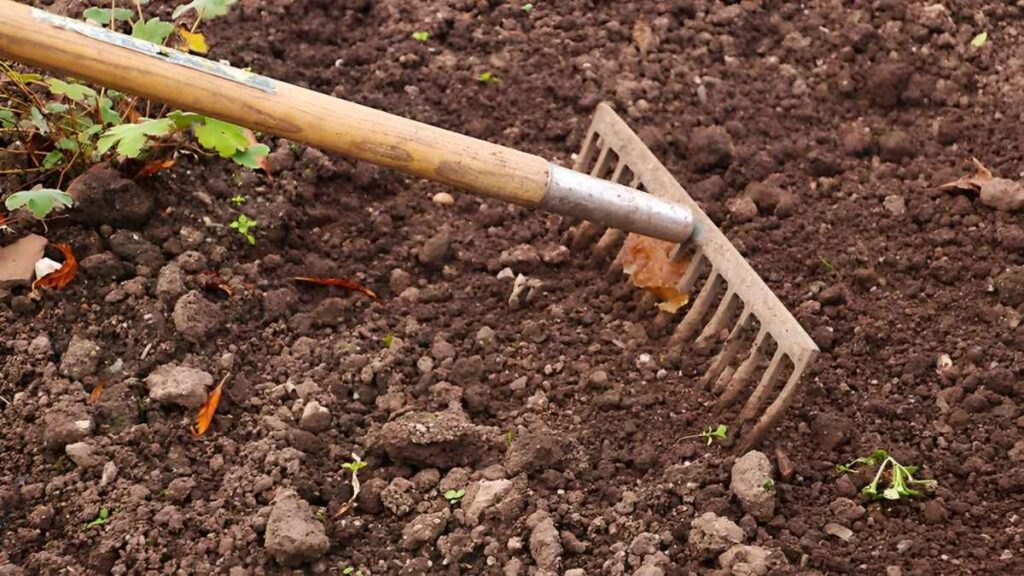
Choose a sunny spot in your garden. Garlic needs at least 6 hours of sun each day. The soil should be soft, loose, and rich in nutrients.
Dig the soil about 8 inches deep. Remove weeds, stones, and clumps. Mix in compost or aged manure to improve soil quality and drainage.
Step 3: Plant the Cloves
Place each garlic clove in the soil with the pointed end facing up and flat end down.
Plant cloves 2 inches deep and 4 to 6 inches apart. Leave about 12 inches between rows. Cover them with soil after planting.
Step 4: Add Mulch
After planting, cover the area with mulch like straw, dry leaves, or grass. Mulch helps protect garlic from cold, keeps moisture in the soil, and prevents weeds.
Step 5: Care During Winter
During winter, garlic does not need much care. If snowfall is heavy, add more mulch for protection. In mild winters, the mulch will be enough to keep the cloves safe underground.
Step 6: Spring Growth
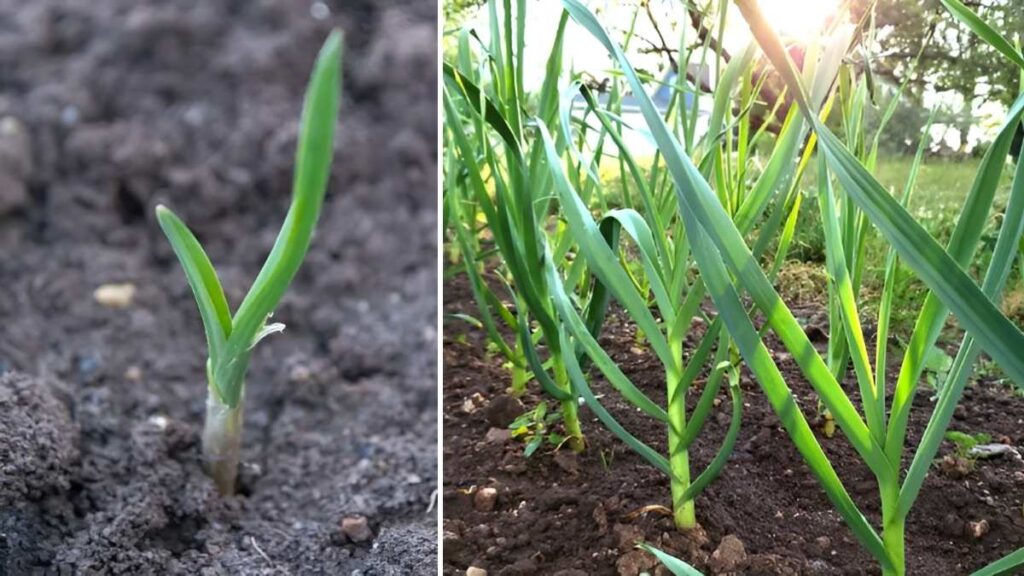
When spring begins, garlic starts to grow again. You will see green shoots coming out of the soil.
Remove some mulch to allow sunlight to warm the soil. Water the plants if the weather is dry, but do not overwater.
Step 7: Fertilize (Optional)
In early spring, you can use an organic fertilizer or compost tea. This helps the garlic grow strong leaves, which leads to bigger bulbs.

Fertilize once when new shoots appear and again after 3 to 4 weeks.
Step 8: Remove Garlic Scapes
If you are growing hardneck garlic, long curly shoots called scapes will appear in spring. Cut them off so the plant can focus its energy on growing a larger bulb.
You can cook and eat garlic scapes. They have a mild garlic taste and can be used in many dishes.
Step 9: Harvest Garlic
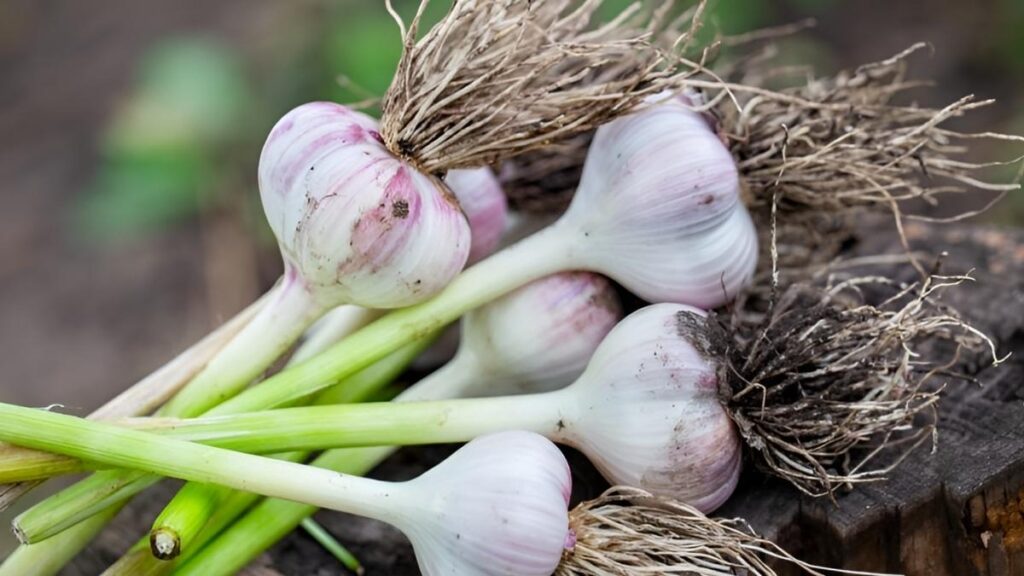
In late spring or early summer, the lower leaves will turn yellow and start drying out. This is the sign that garlic is ready to harvest.
Use a small garden fork or spade to loosen the soil and pull out the bulbs gently. Avoid damaging or cutting the garlic during harvest.
Step 10: Cure the Garlic
Place the harvested garlic in a dry, shady place with good airflow for 2 to 3 weeks. Hang them in small bundles or lay them on a table. This helps the garlic dry fully and store better.
Once cured, trim the roots and cut the stems short. Store garlic in a cool, dry place. Do not keep it in the fridge.
Benefits of Mulching
Mulching is very helpful in garlic growing. It keeps the soil moist, protects the cloves from freezing, and stops weeds. In spring, it also helps warm the soil faster.
Just make sure to remove some mulch in spring to let the shoots grow freely.
Common Problems and How to Avoid Them
Garlic is a strong plant, but sometimes problems can happen.

Too much water can cause rot. Make sure the soil drains well and don’t water too often.
If the leaves turn yellow too early, it may need more nutrients. Try adding compost or organic fertilizer.
Watch out for pests like onion maggots. Good soil, proper spacing, and crop rotation help avoid these problems.
Enjoying Your Garlic
Once cured, your garlic is ready to use. Homegrown garlic has a strong, fresh taste that’s better than store-bought. Use it in your cooking, roast it, or make garlic paste.
You can also save a few of your best bulbs to plant next season, starting the cycle again.
Final Thoughts
Growing garlic in your garden for a spring harvest is easy and rewarding. With the right steps and timing, you can enjoy fresh garlic that adds amazing flavor to your food.
It doesn’t take much space or care, and even a few plants can give you enough garlic for months. So choose your cloves, prepare your soil, and start your garlic-growing journey today.