
Aloe Vera is a hardy, low-maintenance plant that thrives in a variety of conditions, making it the perfect addition to any garden. Not only does it have medicinal properties, but it also adds a unique touch to your outdoor space. If you have one Aloe Vera plant and want to create an entire Aloe Vera garden, you’re in luck. Propagating Aloe Vera is simple and can be done without much effort. In this guide, we will walk you through how to expand your Aloe Vera collection and create a thriving Aloe Vera garden.
Why Create an Aloe Vera Garden?
Creating an Aloe Vera garden offers many benefits. Aloe Vera is known for its healing properties, especially for skin burns and cuts. Having a garden full of Aloe Vera plants ensures that you always have fresh gel available. Plus, Aloe Vera is a drought-tolerant succulent that requires little water, making it an ideal plant for those looking to reduce water usage in their garden. Additionally, Aloe Vera plants are aesthetically pleasing and can thrive in various environments, from sunny balconies to outdoor garden beds.
Materials You’ll Need
To start your Aloe Vera garden, you’ll need a few basic materials:
- A healthy Aloe Vera plant (this will be the source of your garden)
- Small pots or containers (if propagating indoors)
- Well-draining potting mix (succulent or cactus mix is best)
- A sharp knife or pruning shears
- A small shovel or trowel
- Watering can or spray bottle
- A sunny location (either indoors or outdoors)
Step 1: Start with a Healthy Aloe Vera Plant

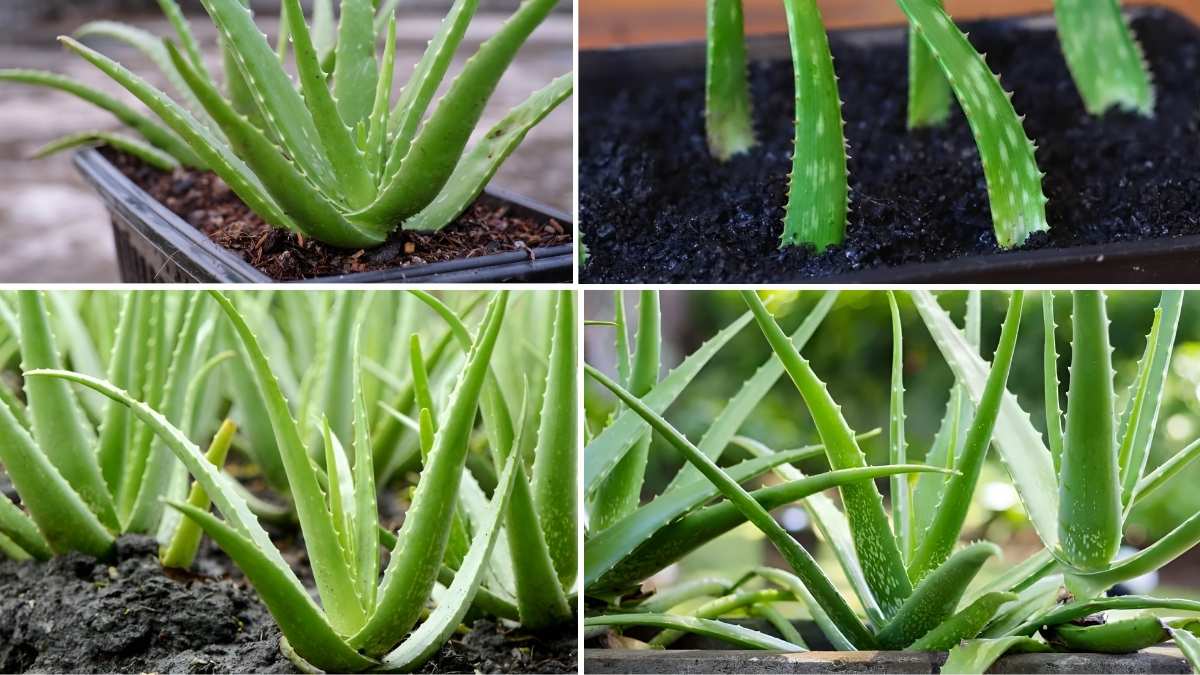
Before you begin, ensure that your Aloe Vera plant is healthy and well-established. A mature Aloe Vera plant with several pups (offsets) at its base is the best choice. If your plant is small and hasn’t produced any pups yet, be patient it may take time before it starts growing new shoots. A healthy Aloe Vera plant should have thick, fleshy leaves, and the roots should be strong and well-developed.
Step 2: Choose the Right Location for Your Aloe Vera Garden
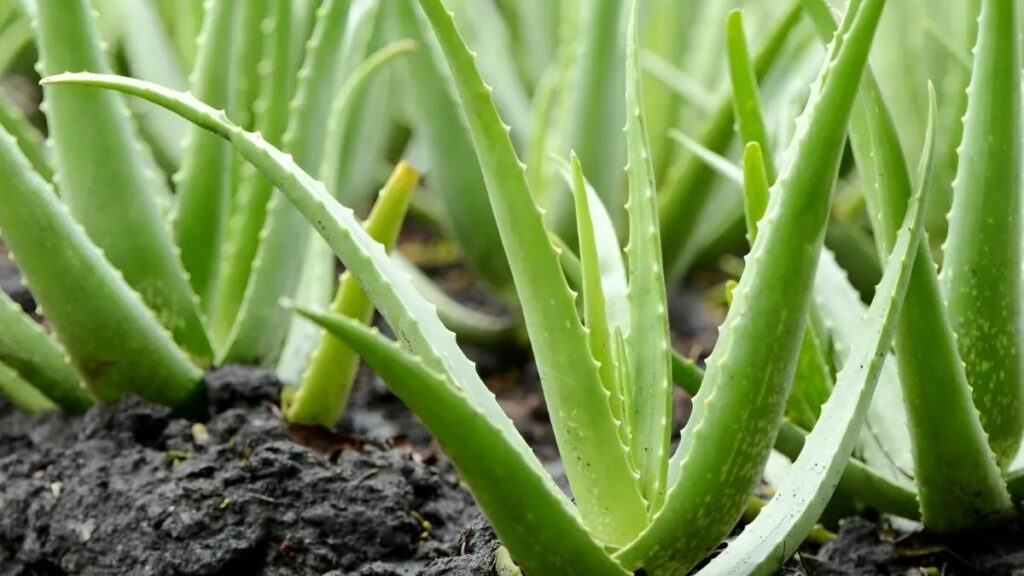
Aloe Vera plants require plenty of sunlight to grow and thrive. Ideally, choose a sunny spot for your garden, whether indoors or outdoors. If you’re creating an outdoor Aloe Vera garden, make sure the spot gets at least 6-8 hours of direct sunlight per day. Aloe Vera plants do best in well-drained soil, so avoid areas where water tends to collect.
If you’re planting indoors, place your Aloe Vera in a bright, sunny window. South-facing windows are usually the best, as they receive the most sunlight throughout the day. Ensure there’s enough room for your Aloe Vera plants to spread out as they grow.
Step 3: Propagate Aloe Vera Plants from Your Original Plant
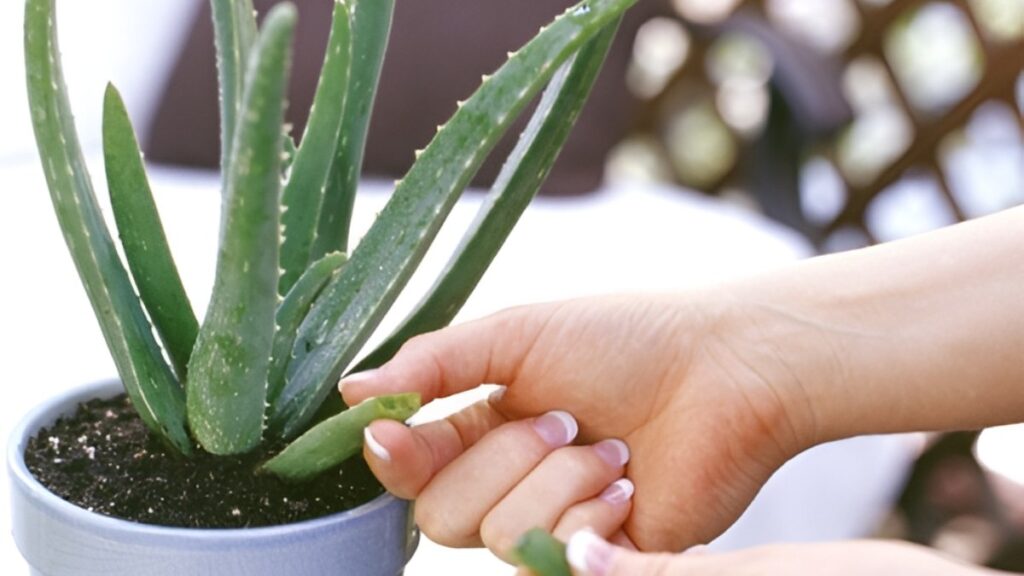
To create a garden from just one Aloe Vera plant, you’ll need to propagate new plants. Aloe Vera is typically propagated through offsets, also known as pups. These small baby plants grow at the base of the main plant and can be separated and replanted.

- Remove the Parent Plant from Its Pot: Gently pull your Aloe Vera plant out of its pot, taking care not to damage the roots.
- Identify the Offsets (Pups): Look for small shoots that have developed at the base of the main plant. These pups are the new plants you’ll use to grow your Aloe Vera garden.
- Separate the Offsets: Use a sharp knife or your hands to carefully separate the pups from the main plant. Make sure each pup has some roots attached.
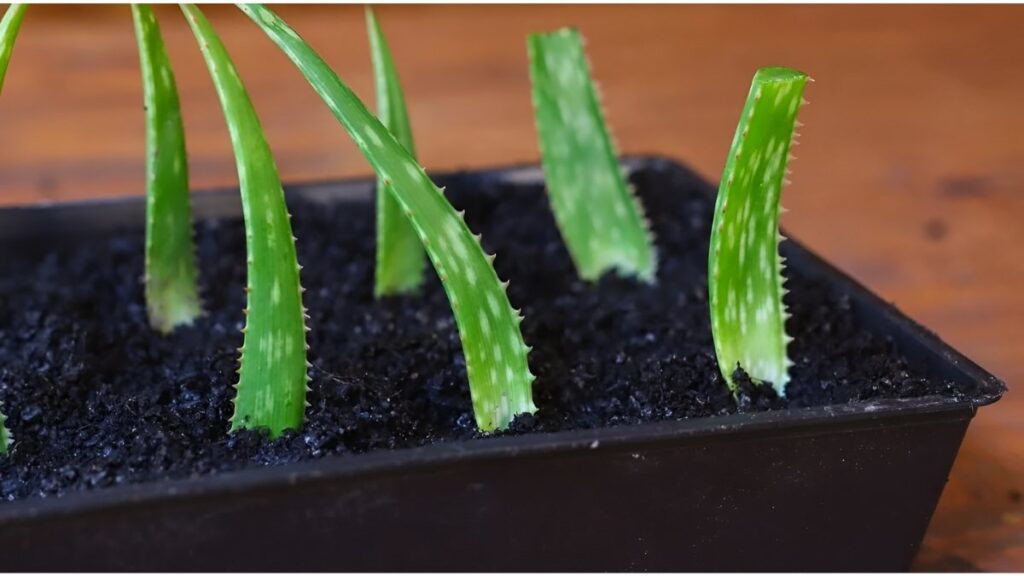
- Let the Offsets Dry: Allow the separated pups to sit in a dry, shaded spot for 1-2 days. This will help the cut ends form a callus and prevent rotting when they are replanted.
- Prepare Small Pots: If you’re propagating indoors, fill small pots with well-draining succulent or cactus potting mix. If you’re planting outdoors, prepare the garden bed by loosening the soil and mixing it with sand or grit to improve drainage.
Step 4: Plant the Offsets in New Pots or Garden Beds
Once the pups have dried, you can begin planting them into their new homes.
- Plant in Pots: If you’re propagating Aloe Vera indoors or in containers, place each offset in a separate pot. Bury the roots gently in the soil, but make sure the leaves are above the soil level. Aloe Vera does not like to be buried too deeply.
- Plant in the Garden: For outdoor gardens, dig small holes for each pup. Space the plants about 6-8 inches apart to allow them room to grow. Plant each pup at the same depth it was growing in the parent plant.
After planting, water the pups lightly. Aloe Vera doesn’t need much water, so avoid overwatering. Let the soil dry out between waterings, as Aloe Vera is sensitive to root rot.
Step 5: Care for Your Aloe Vera Plants
Now that your Aloe Vera plants are in their new pots or garden bed, it’s important to provide them with the right care to help them establish and grow.
- Sunlight: Aloe Vera plants need plenty of sunlight to grow. If your garden is outdoors, make sure they receive at least 6-8 hours of sunlight daily. Indoors, place them near a south-facing window or a bright spot.
- Watering: Aloe Vera plants are drought-tolerant and prefer dry conditions. Water them sparingly, allowing the soil to dry out completely between waterings. Overwatering can lead to root rot.
- Soil: Aloe Vera prefers well-draining soil. If planting in the ground, amend the soil with sand or perlite to improve drainage. When using containers, always choose a cactus or succulent potting mix.
- Temperature: Aloe Vera thrives in warm temperatures. Keep the plants in an area where the temperature stays between 60°F and 85°F (15°C to 29°C).
Step 6: Expand Your Aloe Vera Garden Over Time
As your Aloe Vera plants mature, they will continue to produce pups. These pups can be separated and replanted to further expand your Aloe Vera garden. The more offsets your plants produce, the larger your garden will become. Over time, you’ll be able to harvest fresh Aloe Vera gel, use the plants in landscaping, or even share them with friends and family.

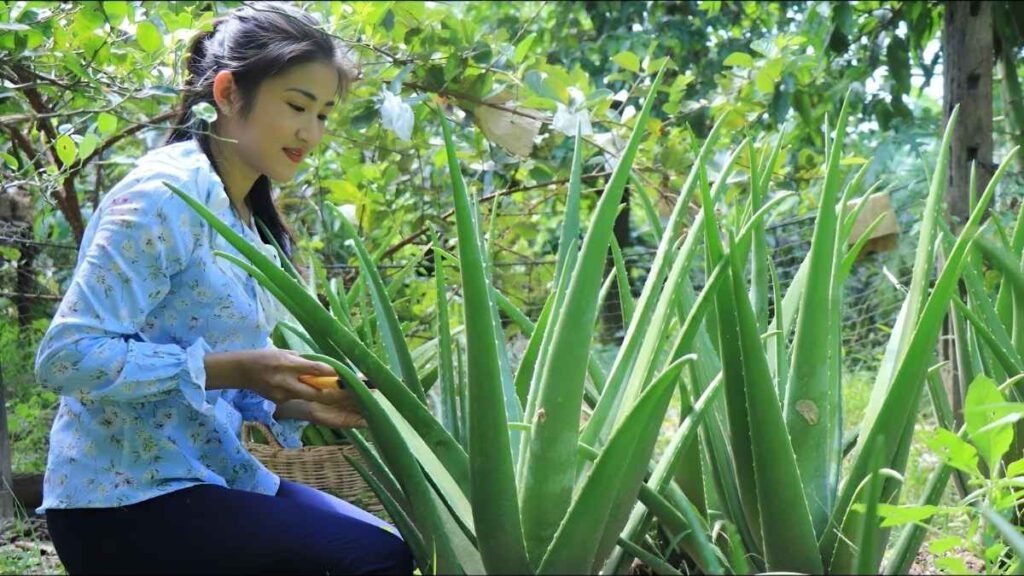
Step 7: Harvesting Aloe Vera
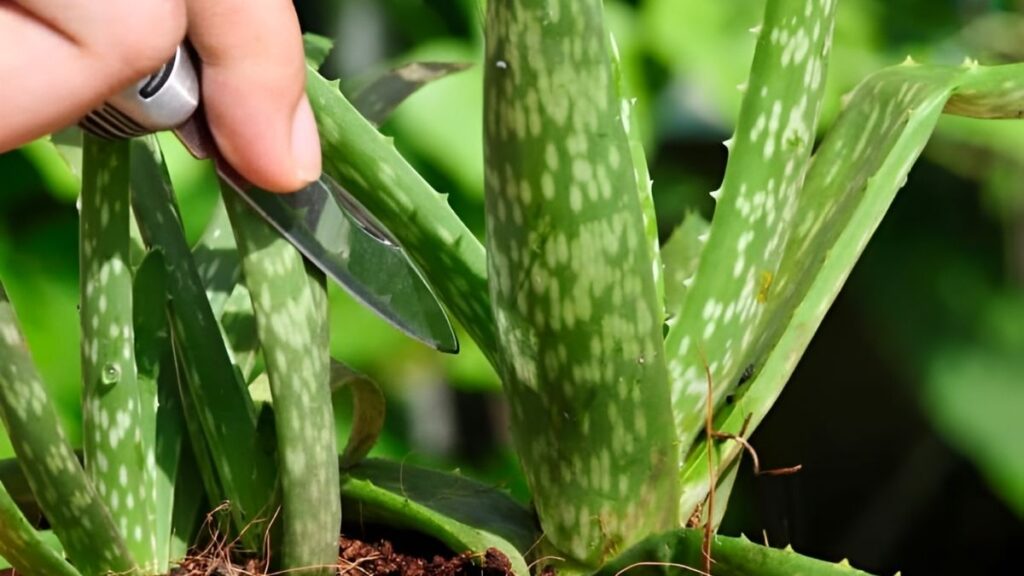
Once your Aloe Vera plants have grown large enough, you can start harvesting the leaves. Aloe Vera leaves are thick and fleshy, and you can cut off a leaf at the base of the plant. Be sure to cut only mature leaves, as the younger ones are still growing. After cutting, the gel inside the leaves can be used for skin care, healing wounds, or making natural remedies.
Conclusion
Creating an Aloe Vera garden from just one plant is an enjoyable and simple process. By propagating the pups and giving them the proper care, you can grow a lush and thriving Aloe Vera garden in no time. Not only will you have a steady supply of Aloe Vera for various uses, but you’ll also add a beautiful and sustainable element to your garden. With a little patience and attention, your Aloe Vera garden will flourish, providing you with plants for years to come.