
Microgreens have recently surged in popularity within the health and gardening community and with good reason. These tiny, flavorful greens are packed with vibrant colors and up to 40 times more nutrients than their mature counterparts. Whether you’re a seasoned gardener or a complete beginner, growing microgreens indoors is an easy, space-saving way to enjoy fresh, organic nutrition throughout the year.
In this guide, you’ll learn everything you need to know about growing microgreens indoors from the best seeds and containers to harvesting your own nutrient-dense greens in just a few weeks. So, let’s dive into how you can create your very own microgreen farm at home.
What Are Microgreens?
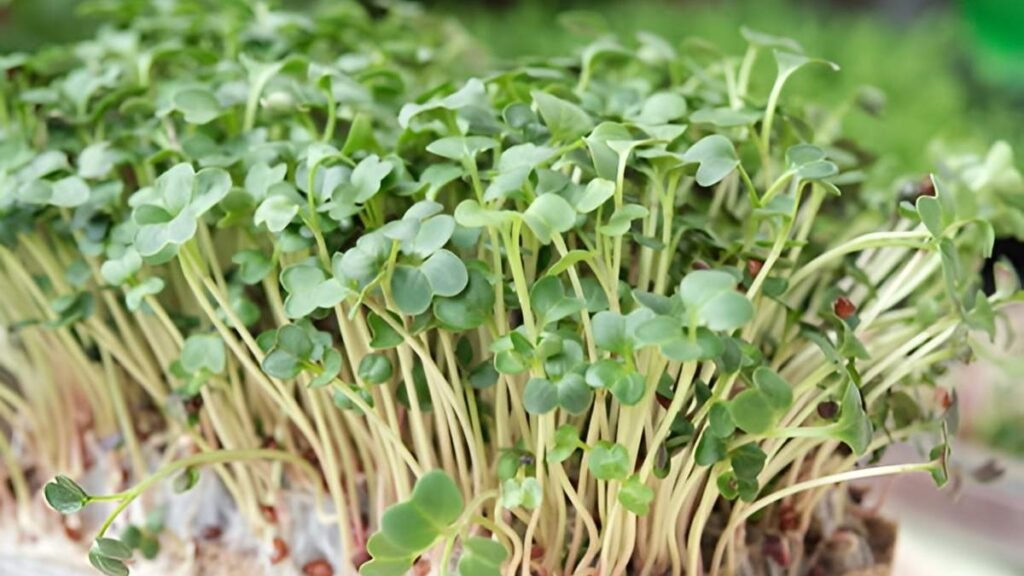
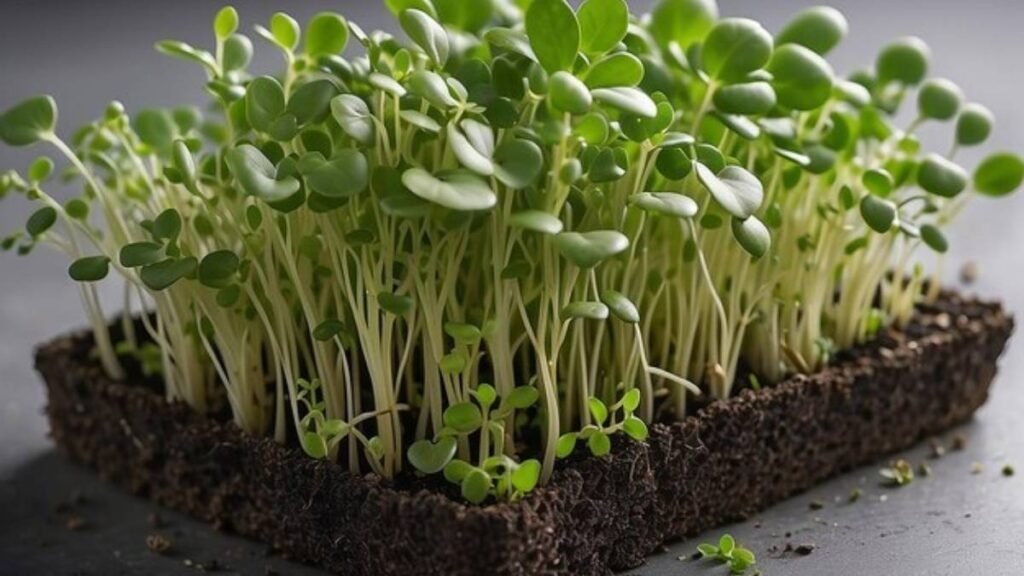
Microgreens are young seedlings of vegetables, herbs, or grains that are harvested when they’re about 1 to 3 inches tall, usually within 7 to 21 days after germination. Unlike sprouts, which are grown in water without soil, microgreens are more developed and come with tiny, nutrient-packed leaves and stems.
Common Microgreens Include:
- Broccoli
- Radish
- Kale
- Arugula
- Beet greens
- Basil
- Sunflower shoots
- Pea shoots
- Mustard greens
- Cilantro
Each type of microgreen has its own distinct flavor profile, ranging from spicy to sweet, making them perfect for adding an extra burst of flavor to salads, sandwiches, smoothies, and even as garnishes for gourmet dishes.
Why Grow Microgreens Indoors?
There are plenty of benefits to growing microgreens indoors, making them a favorite for those looking to boost their health and reduce their reliance on store-bought produce.
- Fast Growth: Microgreens are ready to harvest in just 7 to 21 days.
- Low Maintenance: They require minimal watering and care.
- Space-Saving: They’re perfect for small living spaces, like apartments, and can be grown on windowsills or countertops.
- Nutrient-Dense: Microgreens contain high levels of vitamins A, C, E, and K, as well as antioxidants and minerals.
- Cost-Effective: A small packet of seeds can produce multiple trays of greens.
- Year-Round Freshness: You can enjoy fresh greens every day, even during winter months.
In short, growing microgreens indoors is an easy, sustainable way to enjoy fresh superfoods right at home.
Best Microgreens to Start With
For beginners, it’s best to start with easy-to-grow microgreens that offer consistent germination and rapid growth. Here are a few varieties that are great for first-time growers:

| Microgreen | Days to Harvest | Flavor Profile |
|---|---|---|
| Radish | 7–10 | Peppery and spicy |
| Broccoli | 10–14 | Mild and earthy |
| Pea Shoots | 10–14 | Sweet and tender |
| Sunflower | 10–12 | Nutty and crisp |
| Kale | 12–15 | Mildly bitter |
| Mustard | 8–12 | Spicy and tangy |
Once you’re comfortable with these, you can start experimenting with more unique or mixed varieties to add some flavor variety to your garden.
What You’ll Need to Get Started
You don’t need any fancy gardening tools to grow microgreens. All you need are a few basic materials to get started:
- Seeds: Organic, untreated seeds specifically for microgreens.
- Containers or Trays: Shallow trays (1–2 inches deep) with drainage holes. You can even repurpose old food containers.
- Growing Medium: Options include potting mix, coconut coir, or hemp mats.
- Spray Bottle: For misting the seeds and soil to keep them moist.
- Light Source: A bright windowsill or LED grow light.
- Plastic Lid or Cover: To help maintain humidity while the seeds are germinating.
- Scissors: For harvesting the microgreens.
That’s all you need to create your own indoor microgreen garden!
Step-by-Step Guide to Growing Microgreens Indoors
Here’s a simple, step-by-step process to get you started with your indoor microgreen garden:
Step 1: Prepare the Container
Select a shallow tray (1–2 inches deep). If it doesn’t have drainage holes, poke a few at the bottom. Place the tray on a waterproof surface to catch excess water.
Step 2: Add Growing Medium
Fill the container with your chosen growing medium, about 1 inch deep. Level it out and gently press it down (but don’t compact it too much).
Step 3: Moisten the Soil
Use a spray bottle to mist the soil until it’s moist but not soaking wet. This is crucial for successful seed germination.
Step 4: Sow the Seeds
Evenly sprinkle the seeds over the surface of the soil, pressing them lightly into the soil with your hand or the back of a spoon. Don’t bury them too deeply just a light touch will do.
Step 5: Cover for Germination
Cover the tray with a plastic lid or another tray to retain moisture and create a dark, humid environment for germination. Keep the tray in a warm spot (around 70°F / 21°C).
Step 6: Provide Light
Once the seeds have sprouted (typically 2–4 days), remove the cover and move the tray to a bright spot or under a grow light. Microgreens need about 12–16 hours of light per day for healthy growth.
Step 7: Water Gently
Mist the microgreens once or twice a day, but be careful not to overwater. Too much moisture can encourage mold growth. You can also water from the bottom by adding water to the tray underneath.

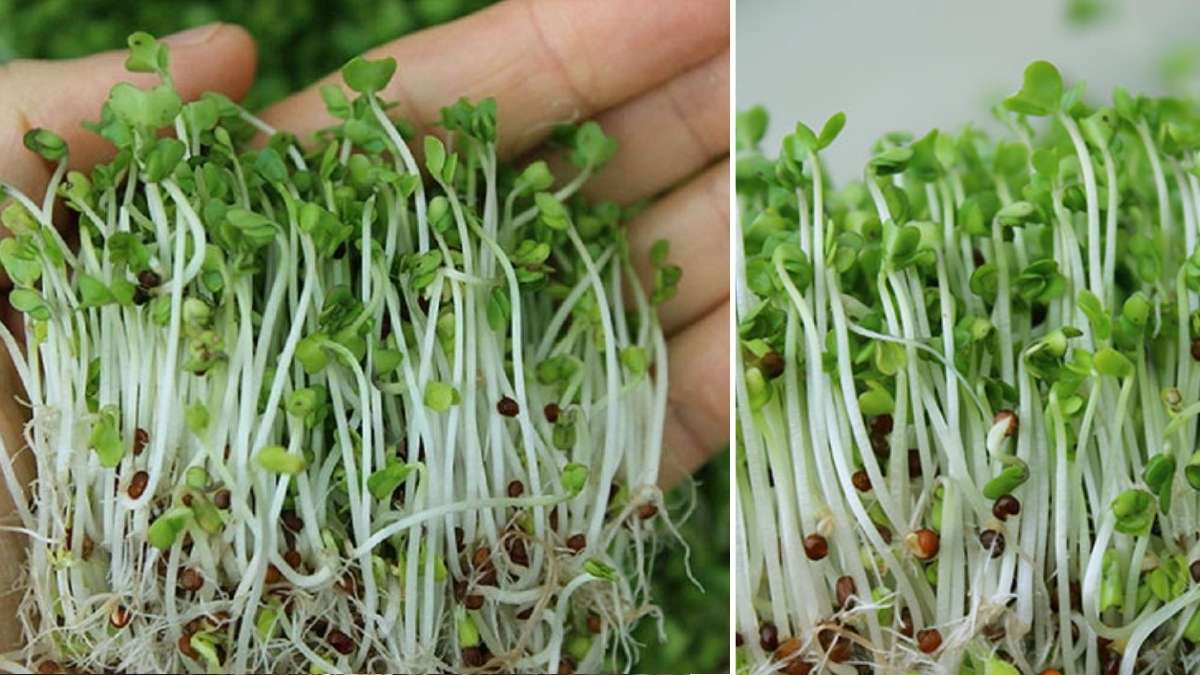
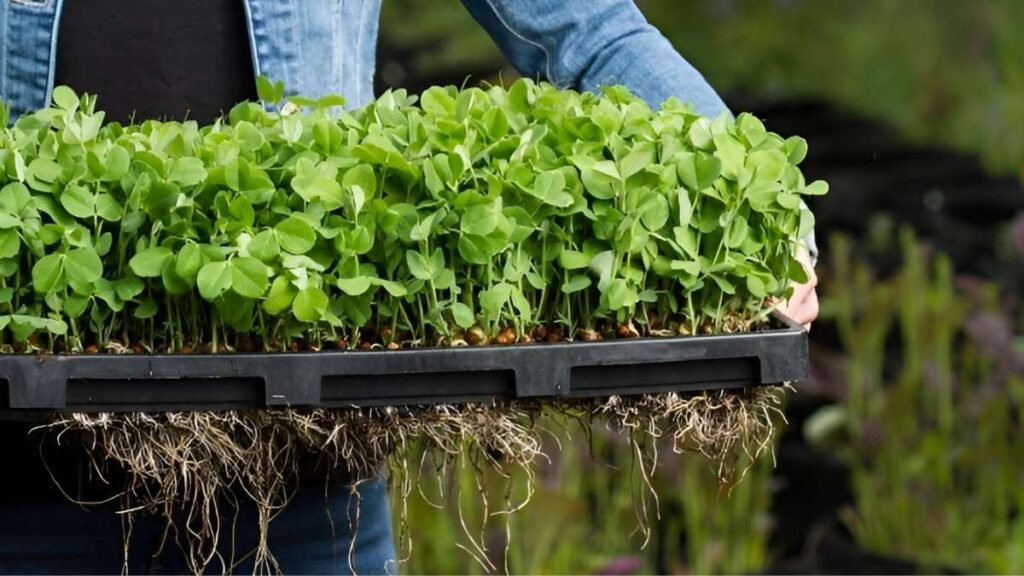
Step 8: Watch Them Grow
In about 7–14 days, your microgreens should be ready for harvest. Once they’ve developed their first true leaves, they’re ready to enjoy!
How to Harvest Microgreens
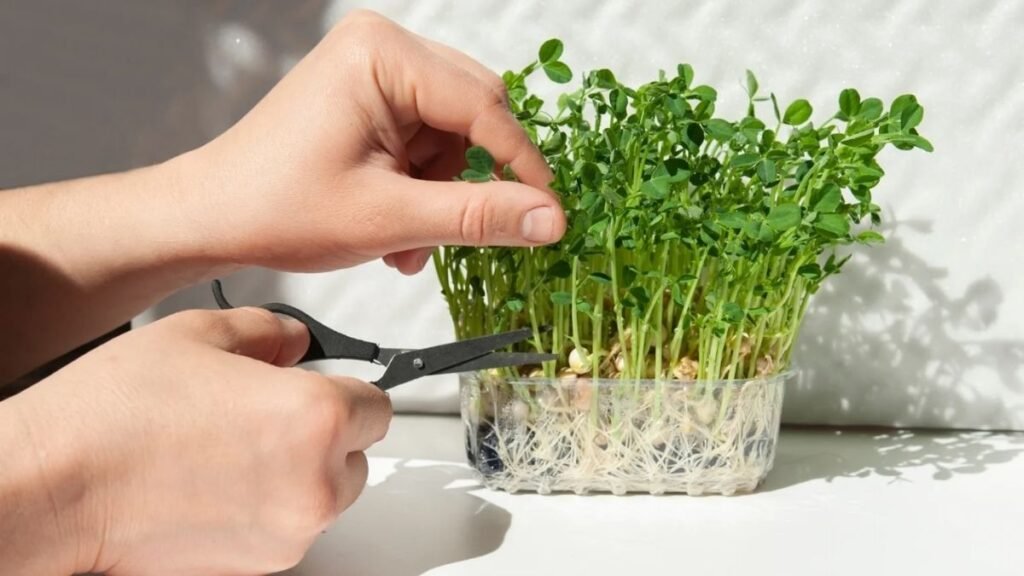
Harvesting microgreens is simple and straightforward. Here’s how to do it:
- Use clean scissors or a sharp knife to cut the greens just above the soil line.
- Rinse gently with cool water and dry them using paper towels or a salad spinner.
- Store in an airtight container in the refrigerator for up to a week.
Tip: Harvesting in the morning ensures the freshest flavor and maximum nutrient content.
The Health Benefits of Microgreens
Microgreens are packed with nutrients and antioxidants that promote good health. Research from the USDA shows that microgreens contain 4 to 40 times more vitamins and antioxidants than their mature counterparts.
Key Nutrients in Microgreens:
- Vitamin C: Boosts immunity and collagen production.
- Vitamin K: Essential for bone health.
- Vitamin E: A powerful antioxidant that protects cells.
- Beta-Carotene: Supports eye health and skin vitality.
- Iron and Magnesium: Vital for energy production.
- Polyphenols: Reduce inflammation and oxidative stress.
These nutrients make microgreens a perfect addition to your diet, whether tossed in a salad, blended into a smoothie, or sprinkled over your favorite dishes.
Common Issues and Troubleshooting Tips
Though growing microgreens is relatively easy, there are a few common issues to watch out for:
| Problem | Cause | Solution |
|---|---|---|
| Mold Growth | Too much moisture, poor airflow | Water less, increase airflow, or use a fan. |
| Uneven Growth | Uneven seeding or light exposure | Distribute seeds evenly, rotate trays. |
| Yellowing | Lack of light | Move to a brighter location or use grow lights. |
| Weak Stems | Overcrowding or insufficient light | Thin out the seeds, provide 12+ hours of light. |
With a few simple adjustments, you’ll be growing perfectly healthy microgreens every time.
Sustainability Tips for Growing Microgreens
Microgreens are not just easy to grow they’re also eco-friendly! Here are a few tips to make your microgreen gardening even more sustainable:
- Reuse containers: Clean and disinfect containers between uses.
- Compost old soil: Spent soil is great for composting or enriching your garden beds.
- Rotate seed varieties: Helps maintain a balanced nutrient intake.
- Use organic seeds: Avoid seeds treated with chemicals or pesticides.
You can even experiment with hydroponic mats, such as hemp or coconut fiber, for a soil-free growing option.

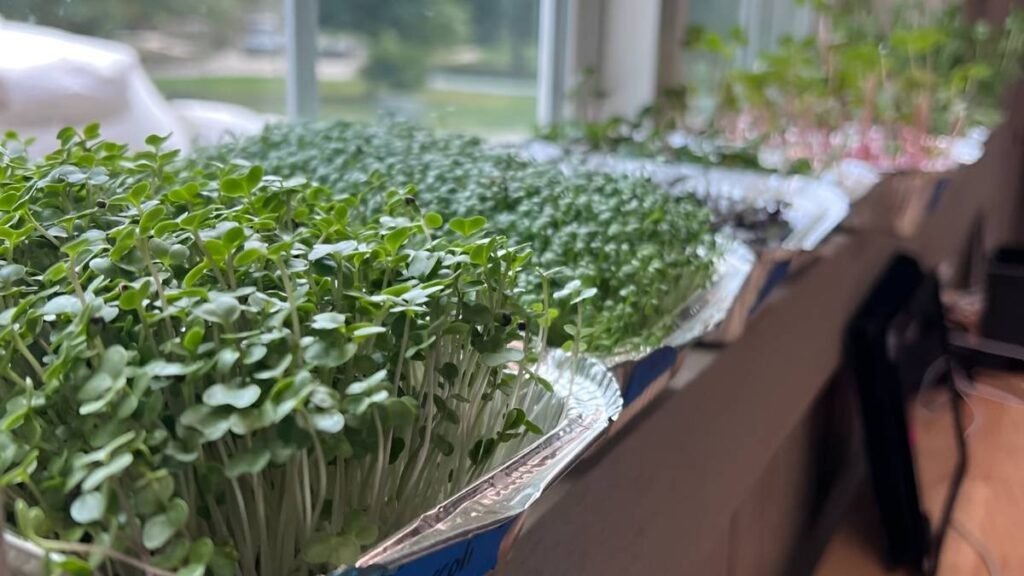
Continuous Harvest Tips
To keep your microgreens coming, try starting a new tray every 7–10 days. This creates an ongoing supply of fresh greens all year long.
Example Schedule:
- Week 1: Start radish and broccoli seeds.
- Week 2: Start sunflower and pea shoots.
- Week 3: Start kale and mustard greens.
By staggering your plantings, you’ll always have fresh greens ready for harvest.
Why Homegrown Microgreens Are Better
Homegrown microgreens offer numerous benefits over store-bought options:
- Fresher: You harvest them just before eating.
- Safer: No pesticides or chemicals.
- Cheaper: A small packet of seeds can yield multiple trays of greens.
- Customizable: Choose the flavors and colors you love.
Plus, growing your own microgreens is a deeply satisfying and rewarding experience. You’ll feel more connected to your food and enjoy healthier, more mindful eating.
Conclusion
Growing microgreens indoors is an incredibly easy and rewarding way to enhance your diet and improve your health. In just a few weeks, you can turn a handful of seeds into vibrant, nutrient-dense greens that boost your meals and your wellbeing. With minimal space, light, and care, you can create your own fresh, organic microgreen garden right in your own home.
Start today, and you’ll be enjoying a continuous supply of fresh greens that are both delicious and nutritious. Happy gardening!