
Composting is a simple and effective way to recycle organic waste while creating nutrient-rich soil for your garden. By turning kitchen scraps, yard trimmings, and other biodegradable materials into compost, you provide your plants with a natural fertilizer that improves soil health, enhances water retention, and reduces dependence on chemical fertilizers. This guide will walk you through everything you need to know to make compost at home from choosing materials to harvesting and using the finished product.
What is Compost?
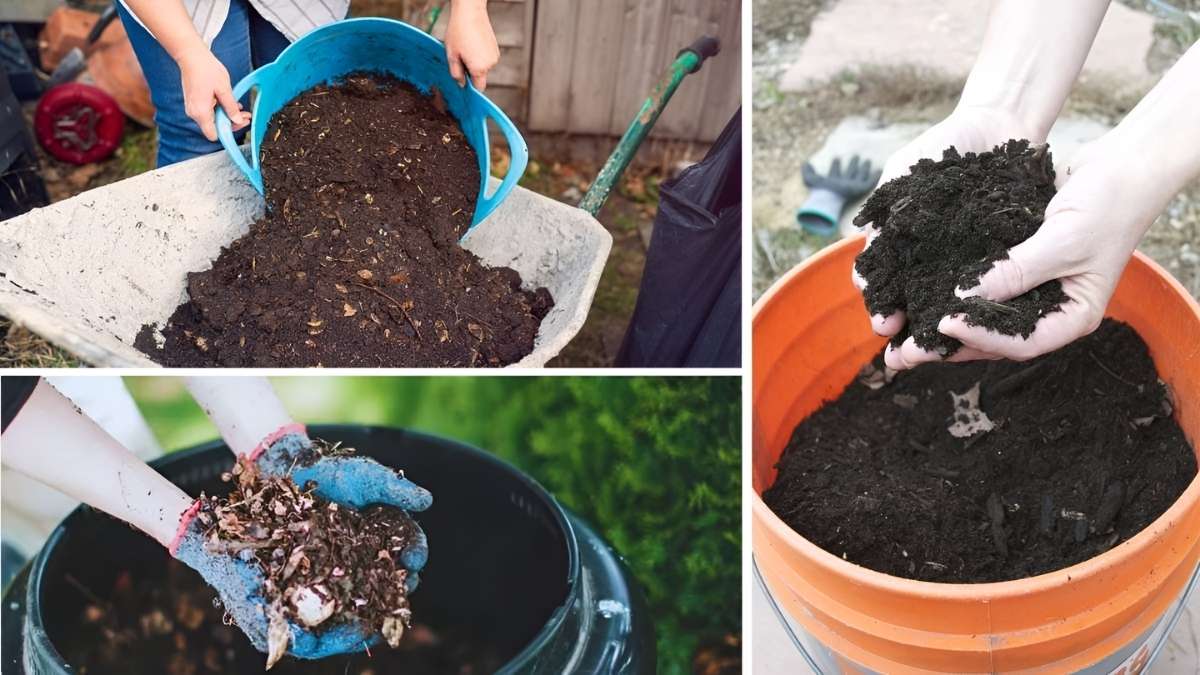
Compost is decomposed organic matter that enriches soil naturally. Microorganisms like bacteria, fungi, and earthworms break down organic waste into humus a dark, crumbly substance packed with nutrients such as nitrogen, phosphorus, and potassium. Adding compost to your soil improves its structure, retains moisture, and supports beneficial organisms that boost plant growth.
Benefits of Homemade Compost
- Cost-effective: Saves money by reducing the need for commercial fertilizers.
- Environmentally friendly: Recycles kitchen and garden waste, keeping it out of landfills.
- Soil improvement: Enhances aeration, water retention, and soil texture.
- Nutrient-rich: Supplies essential macro and micronutrients to plants.
- Healthy plants: Supports soil microbes that help suppress diseases and pests.
Homemade compost is an affordable, eco-conscious choice for gardeners looking to improve soil fertility naturally.
Materials for Composting


Successful composting requires a balance between “greens” (nitrogen-rich materials) and “browns” (carbon-rich materials).
Greens (Nitrogen-Rich):
- Fruit and vegetable scraps (apple cores, carrot tops, potato peels)
- Coffee grounds and tea leaves
- Grass clippings
- Crushed eggshells
Browns (Carbon-Rich):
- Dry leaves
- Straw or hay
- Shredded cardboard or newspaper
- Sawdust or wood chips
Tips for Choosing Materials:
- Avoid meat, dairy, oily foods, or diseased plants, as they can attract pests or slow decomposition.
- Cut large scraps into smaller pieces to speed up composting.
- Aim for roughly two parts browns to one part greens for a balanced mix.
Steps to Make Homemade Compost
Step 1: Select a Site
Pick a well-drained area in your garden, preferably with some shade. Ensure easy access for adding waste and turning the pile. You can use a compost bin or an open pile depending on your space.

Step 2: Layer Materials
Start with a 4–6 inch base of coarse browns like twigs or straw to improve airflow. Alternate layers of greens and browns, keeping each layer about 2–4 inches thick.
Step 3: Maintain Moisture
Your compost should feel like a damp sponge. Water as needed, especially in dry periods, but avoid making it soggy, which can slow decomposition.
Step 4: Aerate Regularly
Turn the pile every 1–2 weeks to provide oxygen to microbes. Use a pitchfork or compost aerator. Proper aeration prevents odors and speeds up composting.
Step 5: Monitor Temperature
A healthy compost pile generates heat naturally. Ideal hot composting temperatures are 130–160°F (54–71°C). If too cool, add more greens; if too hot, turn the pile to release excess heat.
Step 6: Troubleshoot Common Issues
- Odor: Too much green material or moisture? Turn the pile and add browns.
- Slow decomposition: Chop large pieces, maintain moisture, and turn regularly.
- Pests: Avoid meat and dairy, and cover fresh greens with browns.
Types of Composting

- Hot Composting:
Quick decomposition (1–3 months) using balanced greens and browns, frequent turning, and temperature monitoring. - Cold Composting:
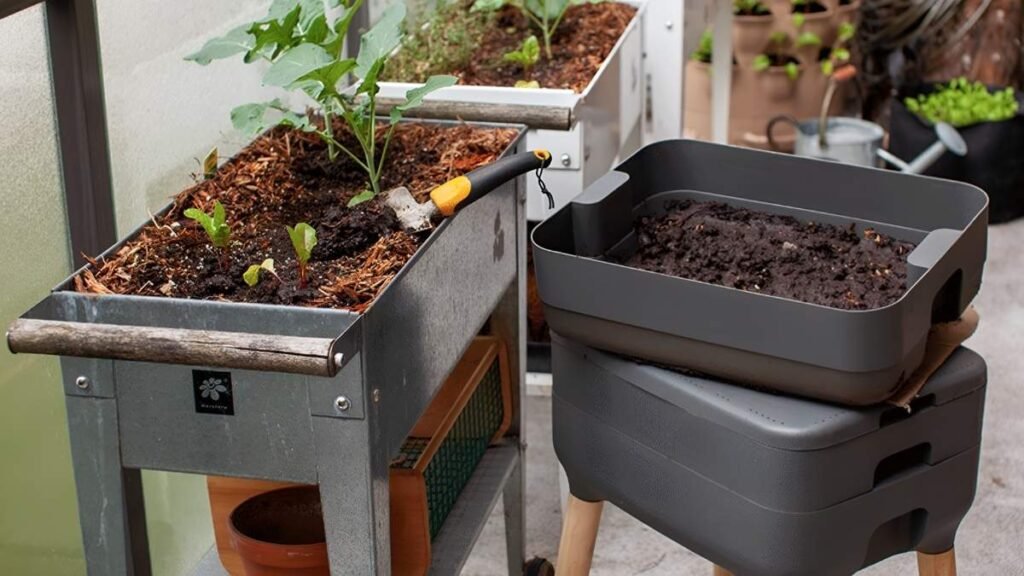
Slower process (6–12 months), requires minimal maintenance; just add materials as they become available. - Vermicomposting (Worm Composting):
Uses worms to convert scraps into nutrient-rich castings in 2–3 months. Ideal for small spaces or indoor composting with kitchen scraps.
Harvesting and Using Compost
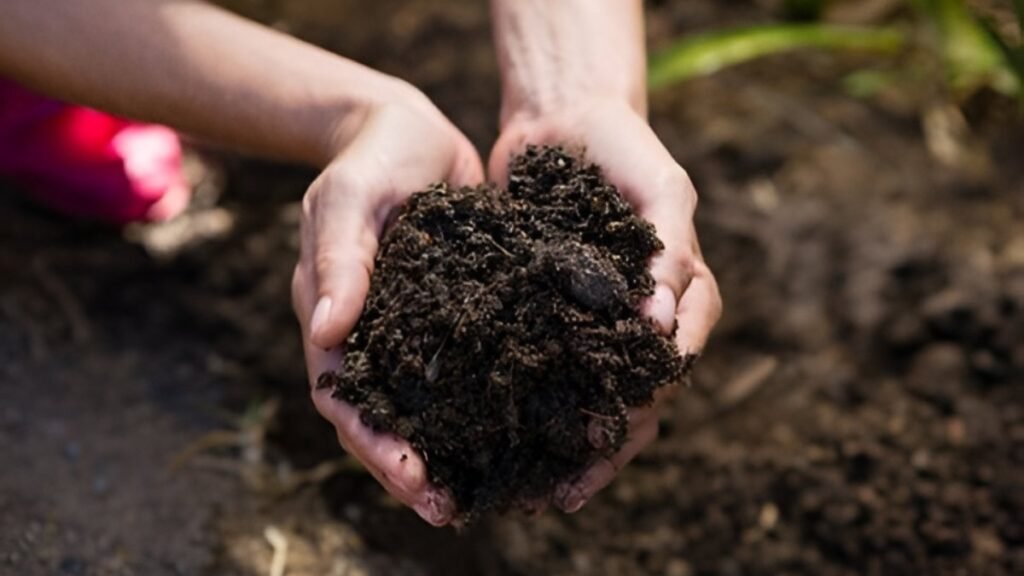
When is Compost Ready?

- Dark brown or black in color
- Earthy smell
- Crumbly texture
- Original materials no longer recognizable
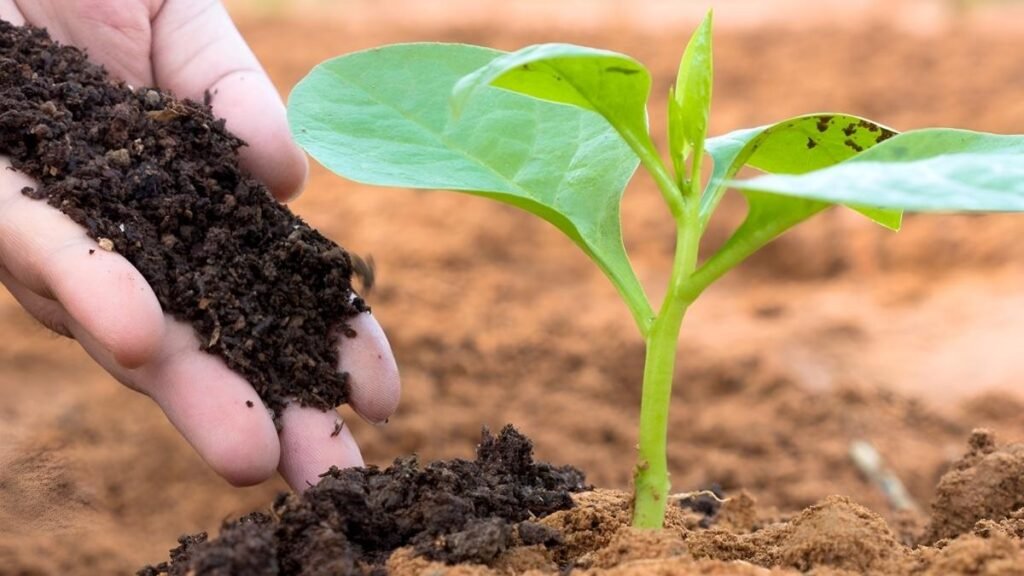
How to Apply Compost:
- Soil amendment: Mix 2–3 inches into garden beds before planting.
- Top dressing: Spread 1 inch around established plants.
- Potting mix: Combine with soil or coco coir for container gardening.
Benefits to Plants:
- Boosts root growth and nutrient absorption
- Improves water retention in sandy soils and drainage in clay soils
- Supports beneficial microbes that protect against diseases
Tips for High-Quality Compost
- Use a variety of greens and browns for balanced nutrients.
- Chop or shred materials for faster decomposition.
- Layer properly to optimize moisture and airflow.
- Maintain temperature for hot composting to kill weeds and pathogens.
- Turn the pile regularly to prevent odors and anaerobic conditions.
Advantages of Homemade Compost
- Saves money on commercial fertilizers
- Reduces kitchen and garden waste
- Supports sustainable gardening
- Promotes healthier, more productive plants
- Safe for fruits, vegetables, and herbs when properly composted
Conclusion
Creating compost at home is a practical, eco-friendly way to produce free, nutrient-rich plant food. By understanding the right materials, maintaining moisture and aeration, and selecting the appropriate composting method, gardeners can convert everyday organic waste into a valuable resource. Whether you choose hot, cold, or vermicomposting, homemade compost improves soil fertility, enhances plant growth, and promotes sustainable gardening practices making it an indispensable tool for every garden.