
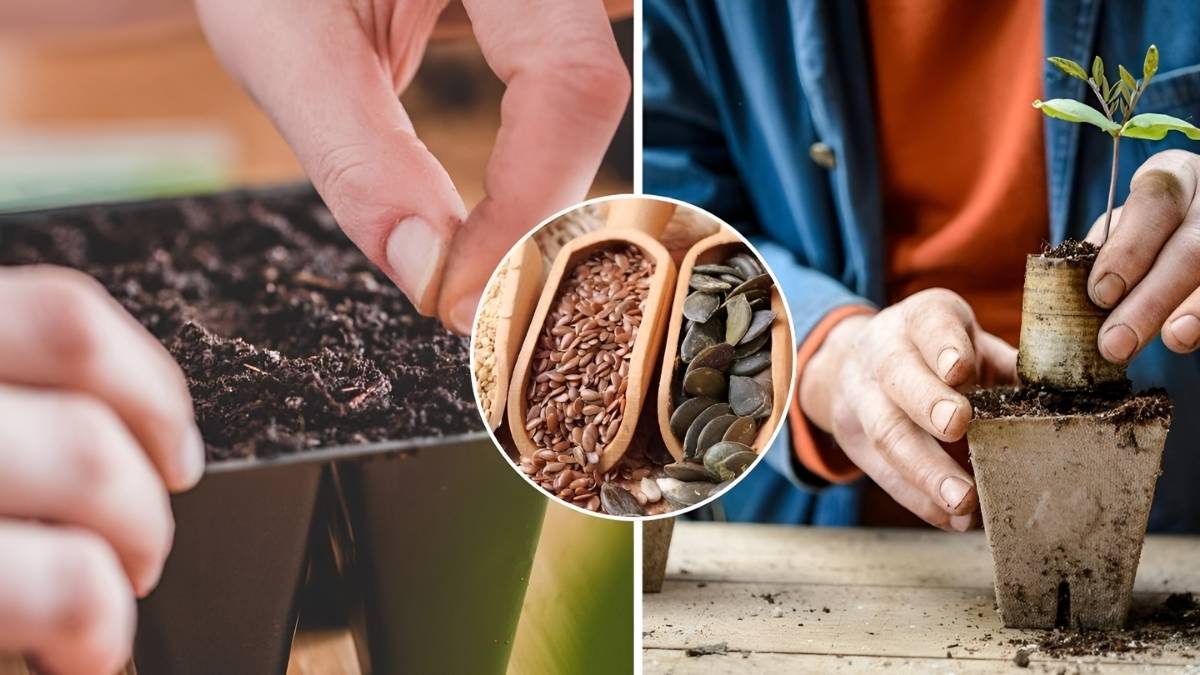
Saving seeds from your garden is simpler than you might think, and it’s a rewarding way to ensure your garden thrives year after year. Whether you’re growing tomatoes, peppers, cucumbers, pumpkins, or flowers, collecting seeds can save you money and give you a sense of independence in growing your own food. Here’s a complete guide to making your own seeds ready for next season.
Why Save Seeds?
There’s something magical about collecting seeds from your own plants. Not only does it save money, but it also gives you the freedom to continue growing heirloom varieties you love. Seeds from your own garden allow you to preserve the characteristics of your favorite plants and build a sustainable cycle in your backyard.
Plus, watching a tiny seed grow into a full plant is endlessly satisfying it’s the ultimate reward for any gardener.
Choosing the Right Plants for Seed Saving
When saving seeds, heirloom varieties are your best bet. Heirlooms are stable plants, meaning their seeds will produce offspring that closely resemble the parent plant. Hybrid varieties, on the other hand, may produce sterile seeds or plants with unpredictable traits.
If you want a thriving seed collection, focus on saving seeds from healthy, mature plants with desirable traits. This ensures your next season’s garden will flourish.
Avoid Cross-Pollination
Cross-pollination can lead to hybrid seeds that may not grow true to the parent plant. To prevent this, separate plants that are prone to cross-pollinate, use physical barriers like blossom bags, or stagger planting times. Keeping careful notes of your plants’ locations and bloom periods can also help you maintain the purity of your seeds.
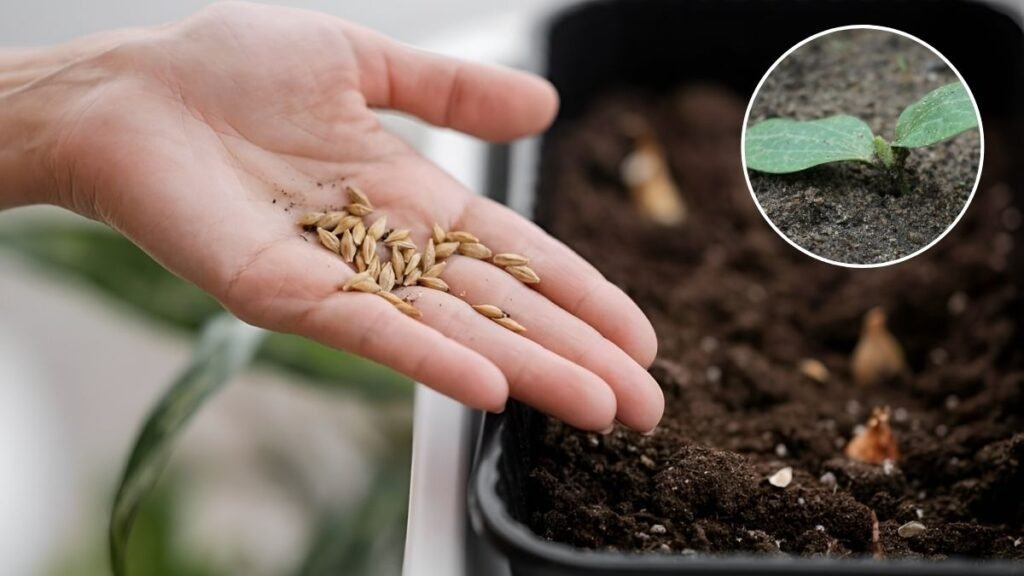
How to Harvest Seeds
The method you use depends on the type of seed you’re saving:
Dry Seeds (Beans, Peas, Peppers, Squash, Okra)
- Leave pods on the plant until fully dry and brittle.
- Collect the seeds over a piece of paper to catch them.
- Let seeds air dry for a few more days if necessary.
Wet Seeds (Tomatoes, Cucumbers, Melons)
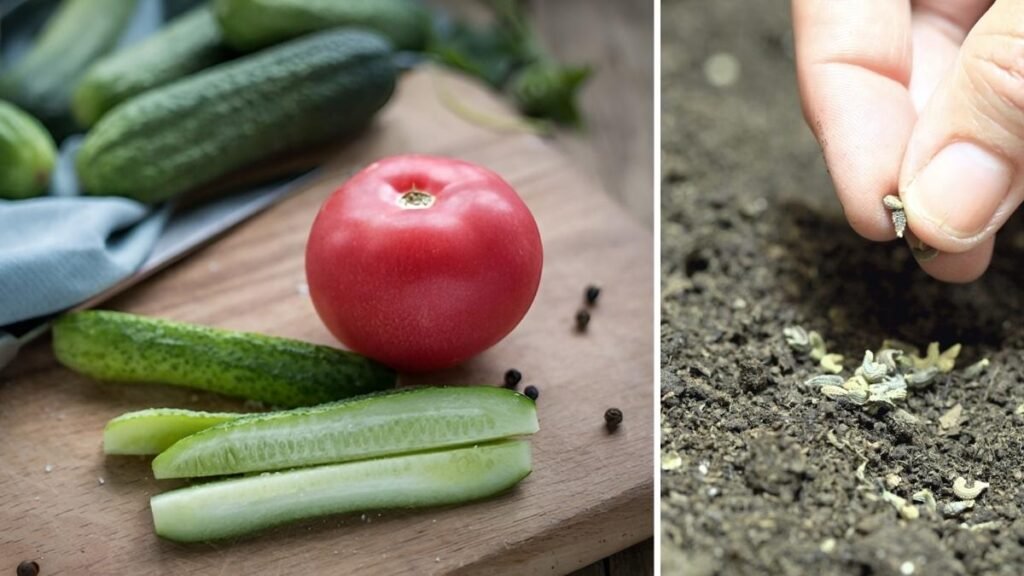

- Scoop seeds and pulp from fully ripe fruits into a jar.
- Add a little water and allow the mixture to ferment for 2–3 days.
- Stir occasionally; viable seeds sink while non-viable seeds float.
- Pour off the pulp and floating seeds, rinse remaining seeds thoroughly.
- Spread seeds on a paper towel to dry completely.
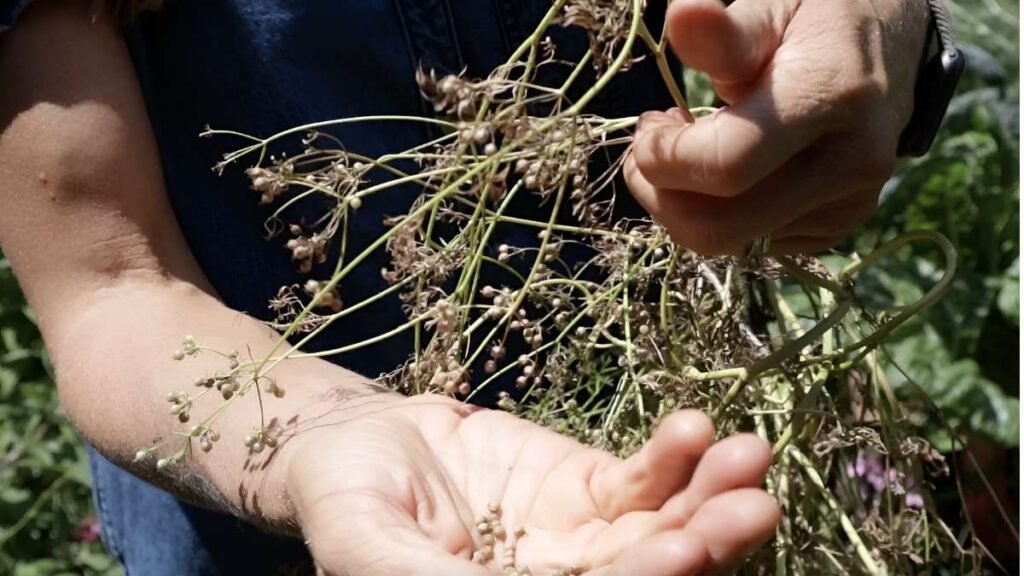
Root Vegetables & Leafy Greens (Carrots, Beets, Lettuce, Broccoli)
- Let plants bolt, allowing them to flower and produce seeds.
- Harvest dried flowers and shake seeds onto a paper or plate.
- Ensure seeds are fully dry before storing.
Herbs & Flowers
- Similar to leafy greens: allow flowers to mature and dry, then collect seeds.
- Basil, calendula, and marigold seeds can be easily collected from dried flower heads.
Drying Seeds
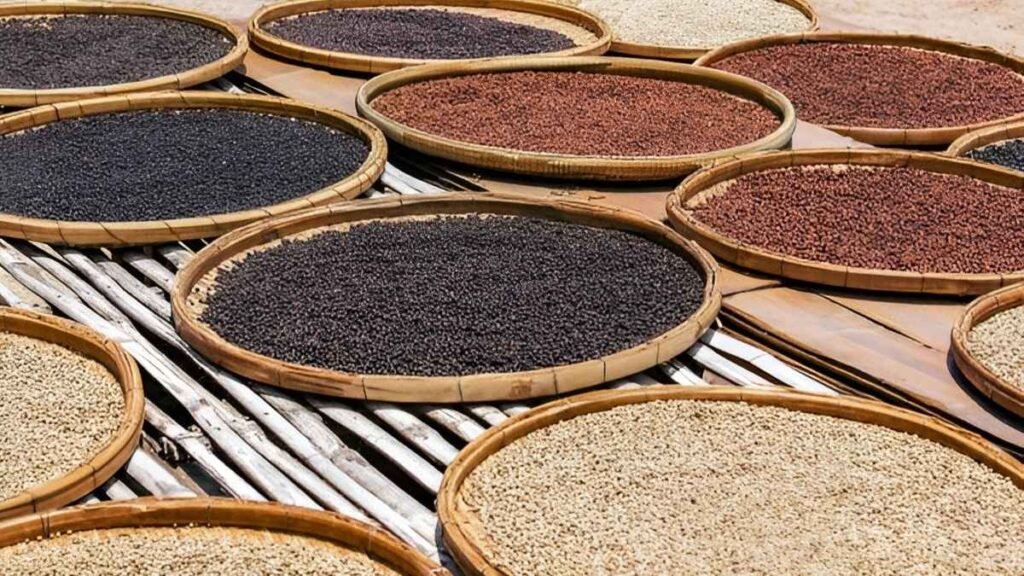
Drying is critical for seed longevity. Spread seeds in a single layer on a paper towel, plate, or screen in a well-ventilated area out of direct sunlight. This may take 1–3 weeks depending on seed type and local humidity. Seeds must be completely dry to prevent mold and decay.
Storing Seeds
Proper storage ensures your seeds remain viable until next planting season.
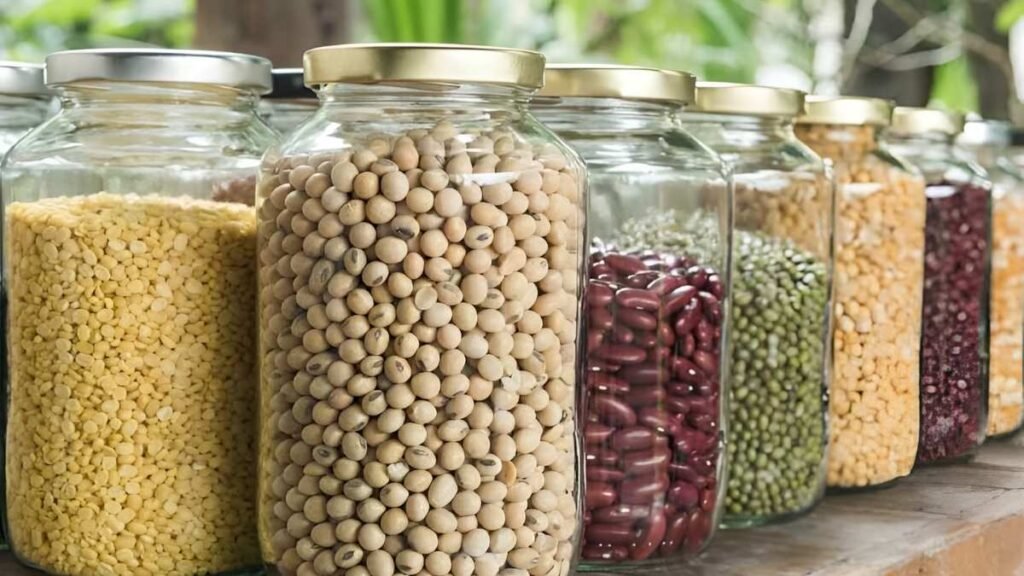
- Use paper envelopes, glass jars, or airtight containers.
- Include a desiccant packet if possible to absorb moisture.
- Label each container with the plant name and harvest year.
- Store in a cool, dark, dry place; a refrigerator can extend viability.
Final Thoughts
Seed saving is not only practical but also deeply rewarding. With just a little time and attention, you can preserve your favorite plants and enjoy a thriving garden year after year. Start small, keep notes, and watch your garden and your seed collection grow.

Saving seeds is a skill that improves over time, and each season teaches you something new. Once you’ve tried it, you’ll wonder how you ever gardened without it!