
Growing your own tomatoes at home might sound like a time-consuming project, but it’s actually much easier than most people think. You don’t need a big backyard or any fancy gardening equipment. With the right variety, a sunny spot, and a little care, you can enjoy a basket of fresh, juicy tomatoes in just about 60 days.
Tomatoes are one of the most rewarding plants to grow because they don’t ask for much, yet they give back in abundance. Whether you want to brighten your salads, make homemade sauces, or simply enjoy the satisfaction of picking ripe tomatoes straight from your plant, this guide will walk you through every step from seed to harvest.
Understanding How Tomatoes Grow
Before you start planting, it helps to understand a bit about the tomato plant itself. Tomatoes belong to the nightshade family, along with peppers, potatoes, and eggplants. They are warm-season plants that love sunshine and consistent moisture.
Tomato plants come in two main types:
- Determinate (Bush) varieties: These grow to a certain height, produce fruit all at once, and then stop growing. They’re perfect if you want a quick harvest within 60 days.
- Indeterminate (Vine) varieties: These keep growing and producing fruit throughout the season but take longer to mature.
If your goal is to grow juicy tomatoes quickly, go for determinate or early-maturing types. Some reliable choices include Cherry Tomatoes, Bush Early Girl, Tiny Tim, and Patio Princess. These compact varieties thrive in pots or small spaces and produce delicious fruit in record time.
Step 1: Choosing the Right Variety and Seeds
The first and most important step is selecting the right tomato variety. Early-ripening tomatoes are specially bred to grow fast and fruit early. When buying seeds or seedlings, look for ones labeled “60 days to maturity” or “early harvest.”
If you’re growing indoors or on a balcony, choose compact or dwarf varieties like Tiny Tim or Balcony Cherry. They don’t require large pots or trellises, and they produce an impressive amount of fruit for their size.
Healthy seeds or seedlings make a big difference. Buy from trusted nurseries or online stores that specialize in vegetable plants. If you prefer to start from seed, make sure the seeds are fresh and not expired old seeds tend to germinate poorly.
Step 2: Preparing the Perfect Soil
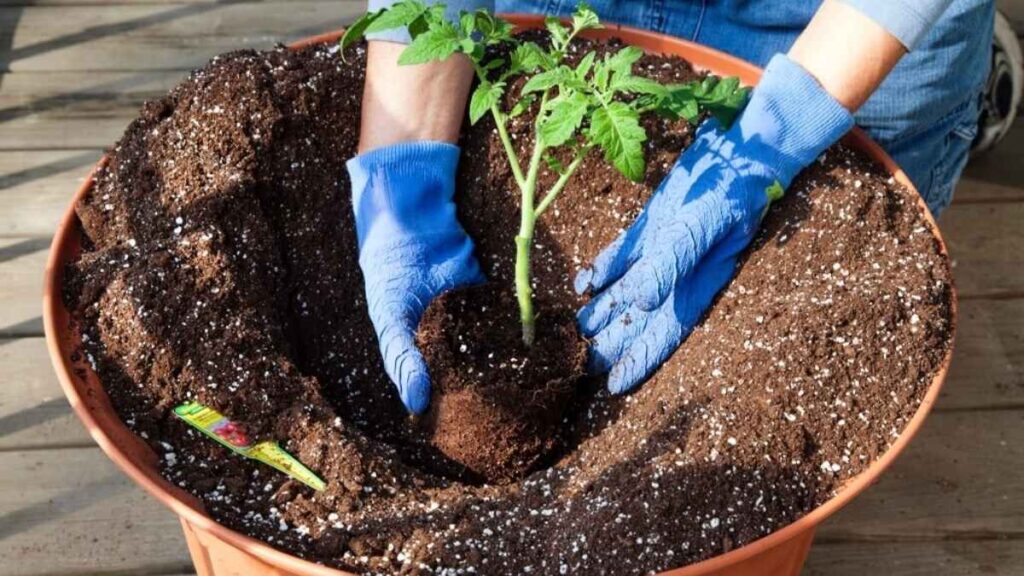
Tomatoes love rich, well-drained soil that’s full of organic matter. If you’re planting in a garden, loosen the soil at least 8–10 inches deep and mix in compost or aged manure to add nutrients.

For container gardening, choose a 12–14 inch pot with drainage holes. Fill it with a light, airy potting mix rather than plain garden soil. A good potting mix should contain:
- Coco peat or compost for moisture retention
- Perlite or sand for drainage
- Organic fertilizer or compost for nutrients
Tomatoes hate “wet feet,” so make sure excess water can drain easily. Good soil preparation is the foundation for healthy growth and juicy fruits later on.
Step 3: Planting Your Tomatoes
You can either start tomatoes from seeds or buy ready seedlings from a nursery.
If you’re starting from seeds, plant them about ¼ inch deep in small pots or trays. Keep them in a warm, sunny spot and water lightly every day. In about a week, you’ll see small green shoots appear.
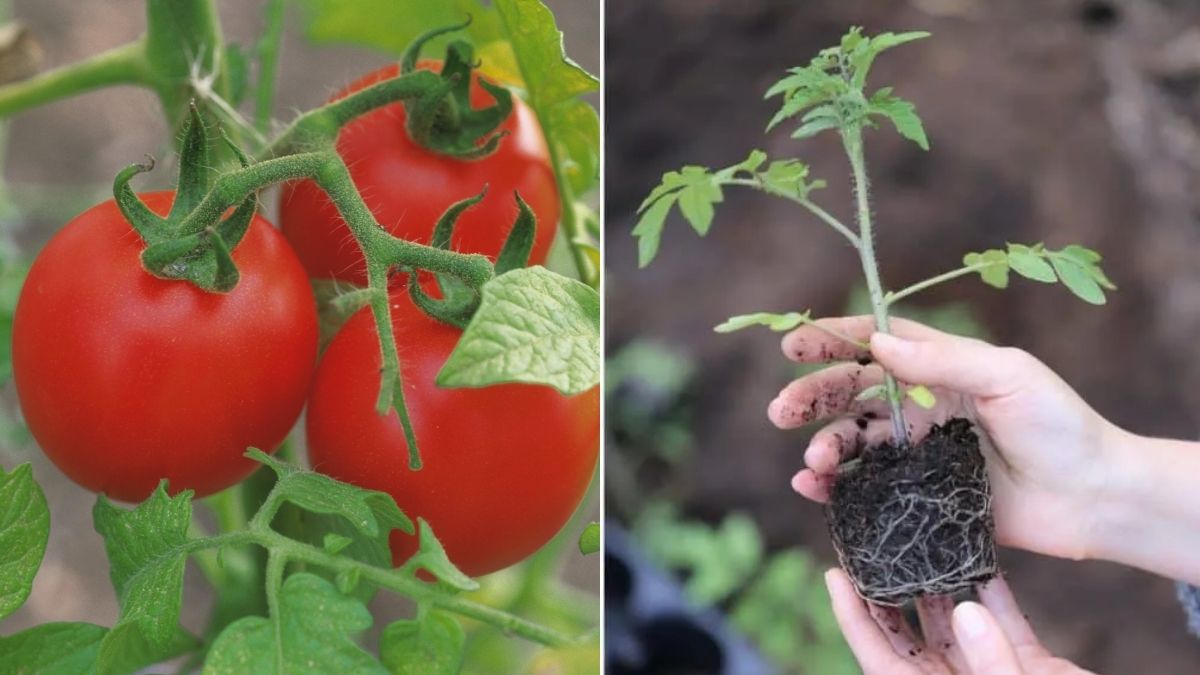
Once the seedlings are 4–6 inches tall and have at least two sets of true leaves, it’s time to transplant them into their final pots or garden beds. When planting, bury part of the stem below the soil tomatoes can grow roots along their buried stem, making the plant stronger and more stable.
If you’re using nursery seedlings, choose healthy plants with green leaves and sturdy stems. Avoid seedlings that look yellow, wilted, or leggy.
Step 4: Sunlight and Water -The Magic Combo
Tomatoes thrive in sunlight. Place your plants where they’ll receive at least 6 to 8 hours of direct sunlight every day. More sun equals sweeter and juicier tomatoes.
When it comes to watering, tomatoes prefer deep but infrequent watering. Water thoroughly two or three times a week, depending on your climate. The goal is to keep the soil evenly moist but never soggy.
A good trick is to water early in the morning or late in the evening, and always water at the base of the plant, not the leaves. Wet leaves can lead to fungal problems or diseases.
To help retain moisture and prevent weeds, you can also add a thin layer of mulch or straw around the base of your plants.

Step 5: Feeding Your Plants
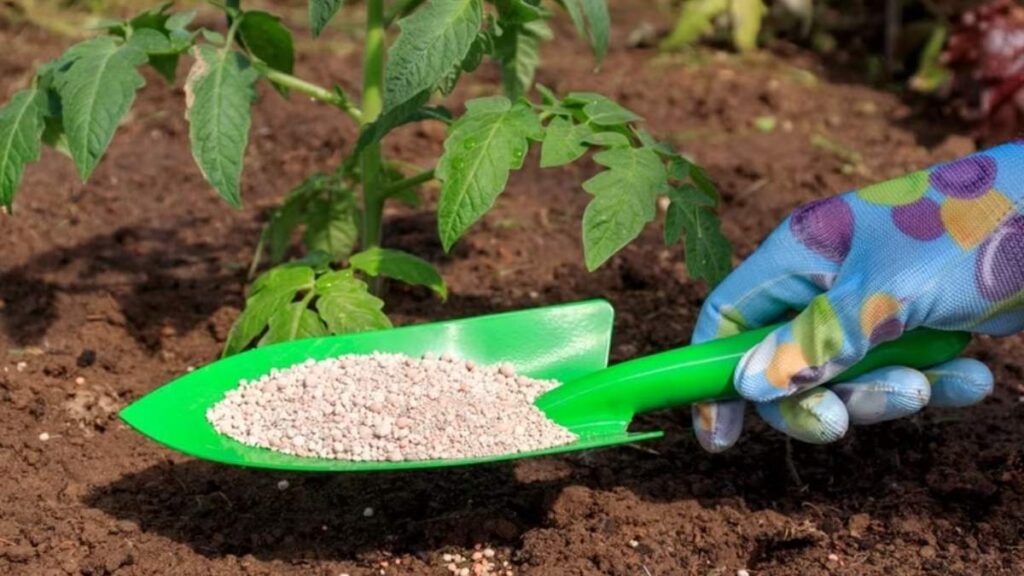
Tomatoes are heavy feeders. Once your plant is about two weeks old after transplanting, start feeding it every 10–14 days with a balanced liquid fertilizer.
A fertilizer that’s higher in phosphorus and potassium encourages flowering and fruiting. You can also use natural options like compost tea or diluted seaweed extract.
When flowers start appearing, switch to a “fruit and bloom” fertilizer that supports fruit development rather than leafy growth. Always follow the instructions on your fertilizer package too much can harm your plant rather than help it.
Step 6: Support and Pruning
As your tomato plant grows taller, it may need some support to keep the stems from bending or breaking under the weight of the fruits. You can use a tomato cage, bamboo stakes, or even a piece of twine tied to a balcony railing.
If you’re growing a vine-type tomato, gently tie the main stem to the support as it grows upward. For bush varieties, a small cage or wooden stick is usually enough.
Pruning also helps your plant stay healthy. Remove any yellow or dead leaves at the bottom, as well as small shoots (called “suckers”) that grow between the main stem and branches. This allows the plant to focus its energy on growing fruits instead of excess foliage.
Step 7: Watching for Growth and Flowering
In just a few weeks, your tomato plant will begin to flower. These yellow blooms are the start of your tomatoes. The flowers will soon be replaced by tiny green fruits that gradually swell and change color.
During this stage, keep the plant well-fed and consistently watered. If you notice pests like aphids, whiteflies, or caterpillars, don’t worry. You can spray the plant with a natural solution of water and neem oil or mild soap water once a week to keep pests away.
Make sure there’s good air circulation around the plants, especially if you’re growing them indoors. This prevents fungus and encourages healthy fruit development.
Step 8: Harvest Time – The Reward of Your Efforts
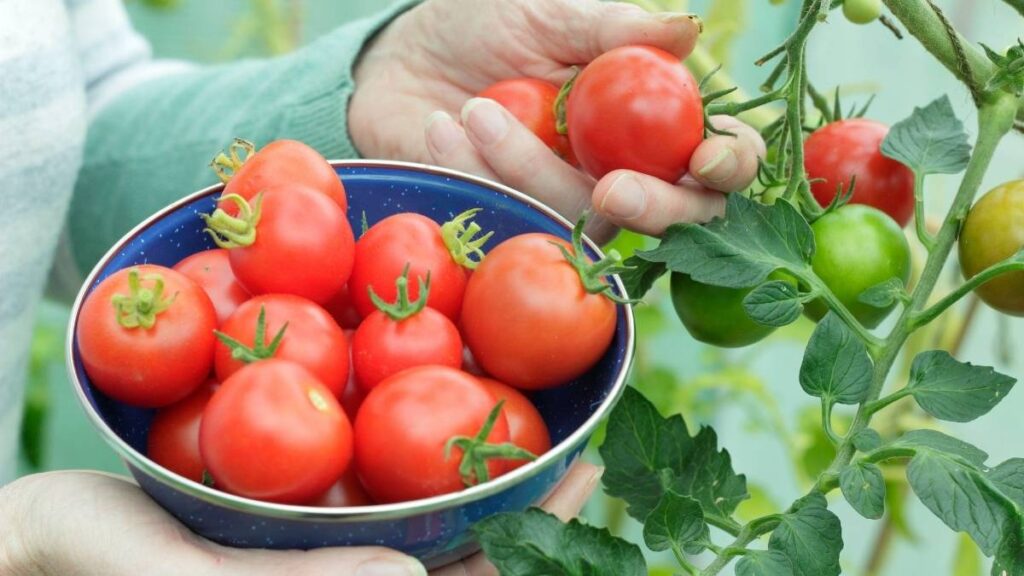

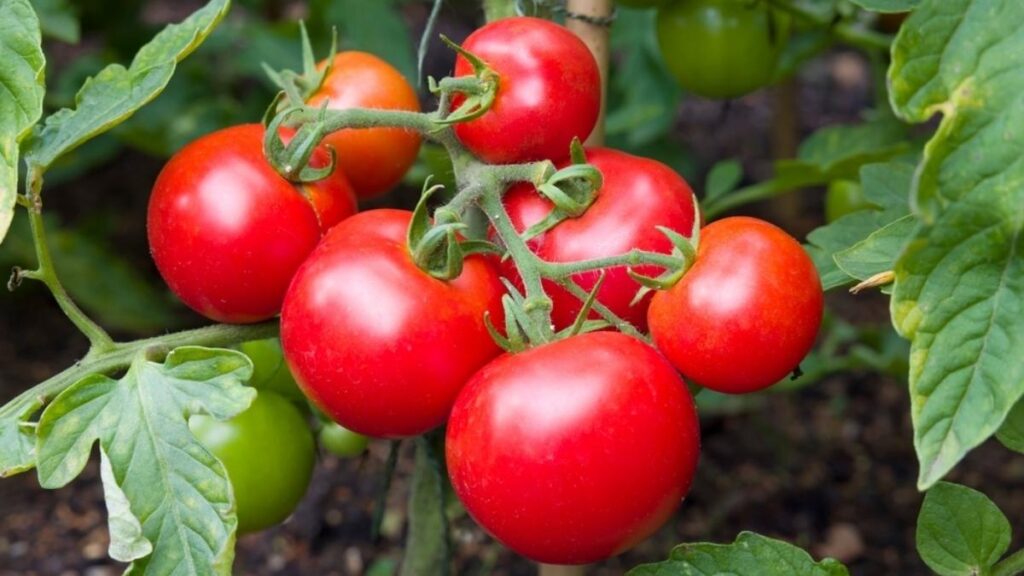
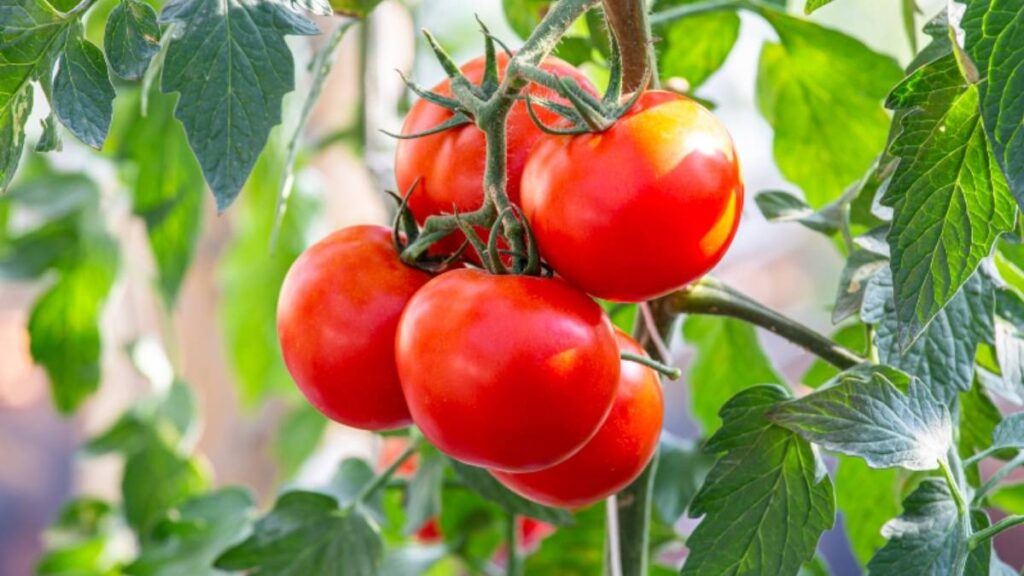
Around 55 to 60 days after planting, your tomatoes will start turning from green to shades of red, orange, or yellow depending on the variety. When they’re fully colored and slightly soft to the touch, they’re ready to harvest.
Gently twist the tomato off the vine instead of pulling it this avoids damaging the stem or nearby fruits. Freshly picked tomatoes smell amazing and taste far superior to store-bought ones.
If your area has unpredictable weather, you can harvest tomatoes slightly early and let them ripen indoors at room temperature. They’ll continue to develop flavor even after being picked.
Step 9: Saving Seeds for Next Season
If you love how your tomatoes turned out, why not save the seeds for your next planting? Simply scoop out a few seeds from a ripe tomato, rinse them, and let them dry completely on a paper towel for a few days. Store them in a cool, dry place until your next growing season.
This way, you’ll always have a supply of your favorite tomato variety ready to go.
Final Thoughts
Growing tomatoes at home is one of the simplest and most satisfying gardening experiences you can have. In just 60 days, you can go from a handful of seeds to a flourishing plant heavy with bright, juicy fruit.
The best part? You don’t need acres of land or years of experience. Even a sunny balcony or kitchen window can give you a steady harvest if you follow these simple steps.
Once you taste your own homegrown tomatoes sweet, flavorful, and completely organic you’ll never look at store-bought ones the same way again. So, grab some seeds, prepare your pots, and start your 60-day tomato adventure today. Your future salads and sauces will thank you!