
Mulberries are among the most rewarding fruits you can grow at home. Their sweet, juicy berries are perfect for fresh snacking, desserts, or homemade jams and the best part is, you don’t need a big garden to enjoy them. With the right care and a suitable container, you can grow thriving mulberry trees even on your balcony or patio.
If you’ve ever wanted to pick your own mulberries straight from a pot, this guide will show you exactly how to do it step by step.
Understanding How Mulberries Grow
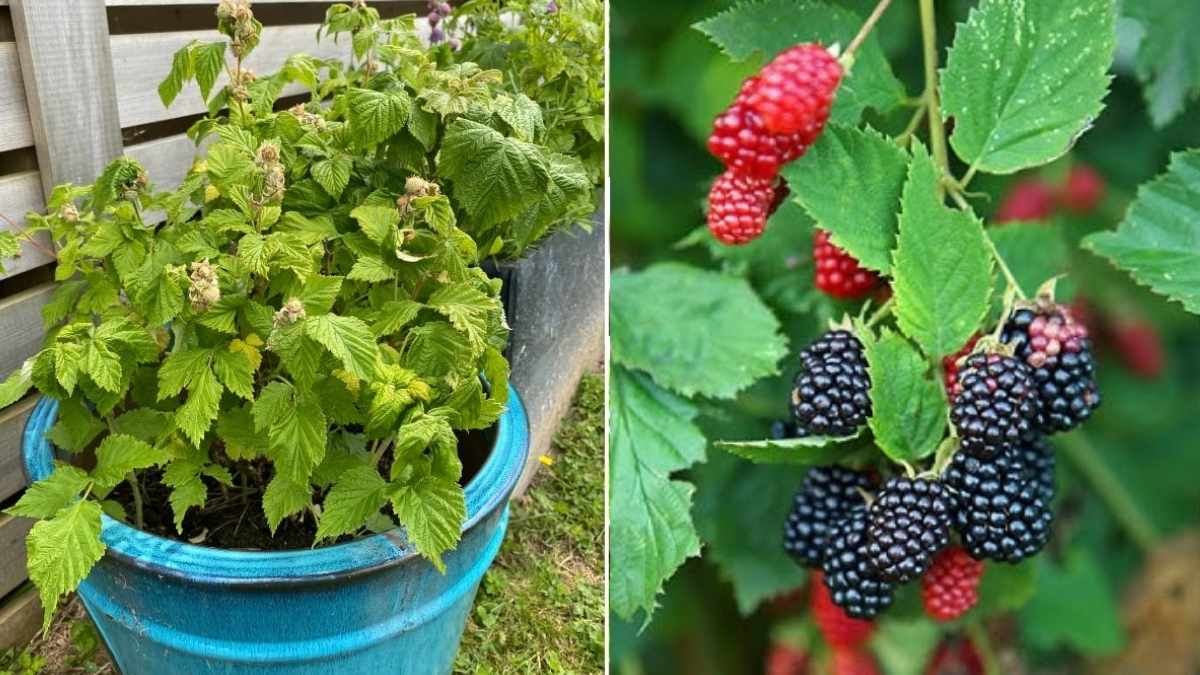
Mulberries are fast-growing, deciduous trees that can reach impressive sizes in open ground. However, with pruning and container gardening techniques, you can easily control their height and spread.
They grow best in warm, sunny conditions and prefer well-draining soil. The plant’s strong root system is the secret to its vigor, so giving roots enough room to breathe even in a container is essential. Dwarf or compact mulberry varieties, such as Morus nigra or Morus alba ‘Dwarf Everbearing’, are ideal for container cultivation because they stay small yet produce abundant fruit.
Understanding this natural growth pattern helps you create the right environment for healthy, fruit-bearing plants.
Choosing the Right Container
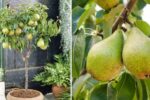
Your container is the foundation of your mulberry’s success. Start with a pot that’s at least 18–24 inches deep and wide, giving the roots enough space to develop. Use containers made of terracotta or durable plastic just make sure they have good drainage holes to prevent waterlogging.
As the tree grows, you might need to repot it into a slightly larger container every 2–3 years. This not only refreshes the soil but also encourages stronger growth and better fruiting.
Best Soil Mix for Container Mulberries
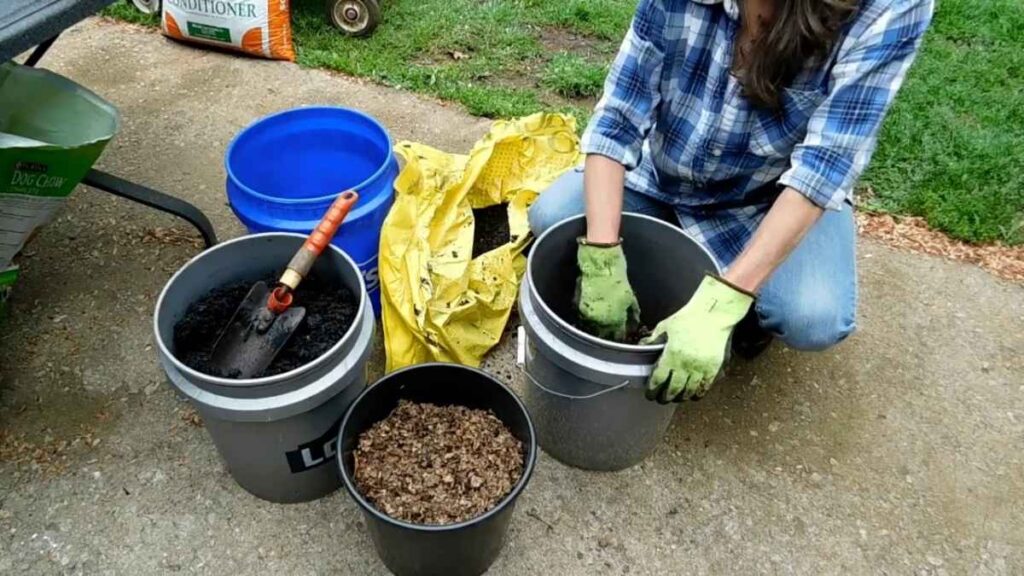
Mulberries prefer rich, well-draining soil. A mix of:
- 1 part garden soil
- 1 part compost or organic matter
- 1 part coarse sand or perlite
…creates the perfect balance between nutrients and drainage. Adding a handful of bone meal or slow-release organic fertilizer will give your plant an extra boost at the start.
Avoid heavy, clay-based soils they tend to retain too much moisture and can lead to root rot.
Planting Your Mulberry Tree
When planting, fill the pot halfway with your soil mix, place the sapling in the center, and fill around the roots gently. The base of the trunk should sit level with the soil surface. Press the soil lightly to remove air pockets and water thoroughly after planting.
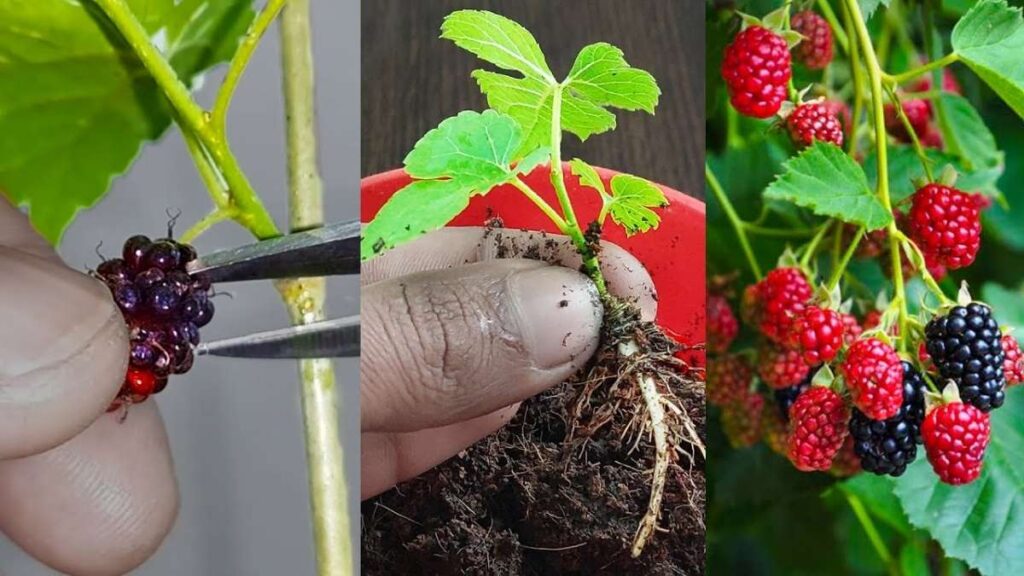
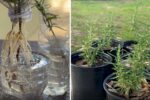
If you’re starting from a cutting, make sure it has at least 2–3 nodes (the points where leaves grow). Stick the cutting into moist soil and keep it in a warm, shaded area until new growth appears.
Sunlight and Watering
Mulberries are sun-lovers! Place your container in a spot that gets 6–8 hours of direct sunlight daily. Adequate sunlight ensures better fruit production and sweeter berries.
Water your plant deeply once or twice a week, depending on the weather. Let the top inch of soil dry out between watering mulberries dislike constantly wet roots. In very hot months, you may need to water more frequently, but always check the soil first.
Feeding and Pruning
During the growing season (spring and summer), feed your mulberry every 4–6 weeks with a balanced liquid fertilizer or organic compost tea. This helps the plant maintain lush foliage and consistent fruiting.
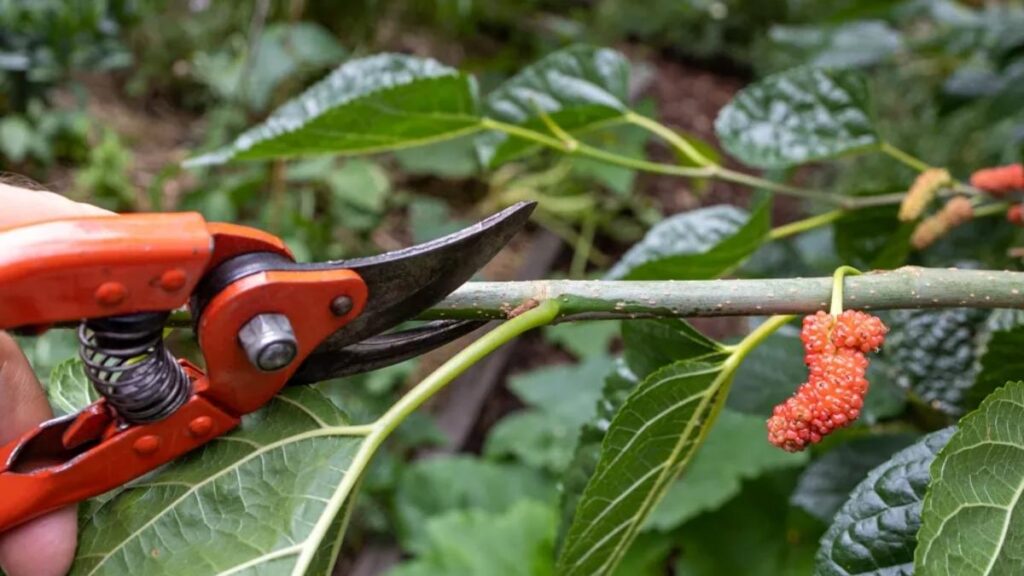
Pruning is key when growing in containers. After each fruiting season, trim back long or tangled branches to shape the tree and encourage new growth. Regular pruning also keeps the plant compact and manageable in small spaces.
Pollination and Fruiting

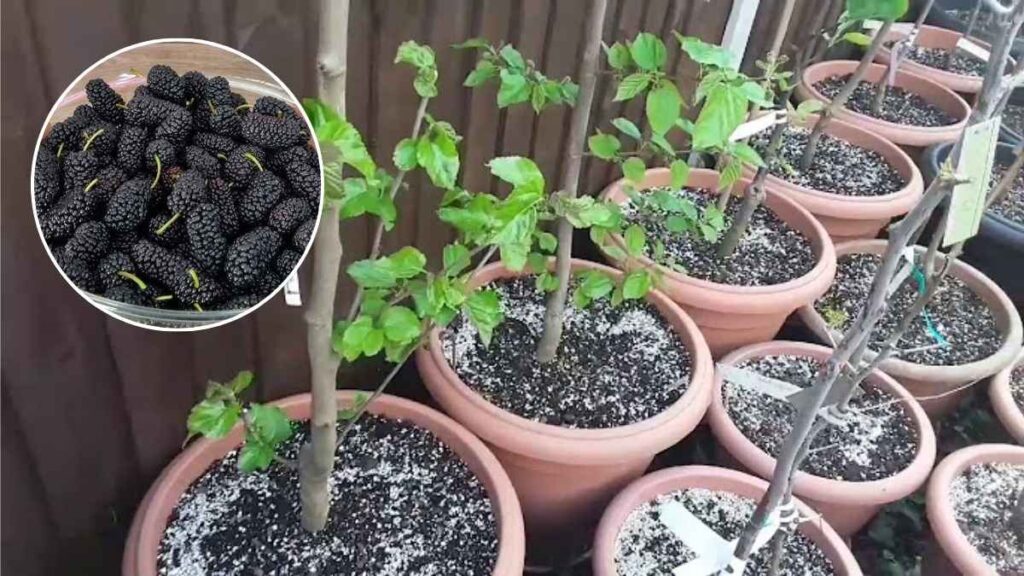
Most modern mulberry varieties are self-pollinating, so you’ll only need one plant to get fruit. Small green fruits appear in late spring, gradually ripening to deep purple, red, or black, depending on the variety. Harvest them when they are soft, glossy, and easy to pull off the stem they’re sweetest at full ripeness.
To protect your harvest, consider placing a fine mesh net around your plant, as birds love ripe mulberries as much as we do!
Common Problems and How to Avoid Them
Even with great care, a few common mistakes can affect container-grown mulberries:
- Overwatering: Always check soil moisture before watering.
- Lack of sunlight: Leads to fewer fruits and leggy growth.
- Skipping pruning: Causes overcrowded branches and reduced yield.
- Neglecting repotting: Roots become bound, limiting growth.
Addressing these small issues early keeps your mulberry healthy and productive for years.

Benefits of Growing Mulberries in Containers
Container gardening offers flexibility and control. You can move your plant to catch sunlight, protect it from harsh weather, or simply decorate your outdoor space. Growing mulberries in pots also means fewer weeds, less mess, and easier harvesting. Plus, the fruits are fresher than anything you could buy!
Whether you live in an apartment or have a small backyard, container mulberries let you enjoy the luxury of homegrown fruit without needing a large garden.
Final Thoughts
Growing juicy mulberries in containers is simpler than you might think. With a sunny spot, good soil, and regular care, your small potted tree can yield baskets of sweet fruit season after season. Container gardening lets you bring nature closer, even in limited spaces and once you taste your first homegrown mulberry, you’ll know it’s worth every bit of effort.