
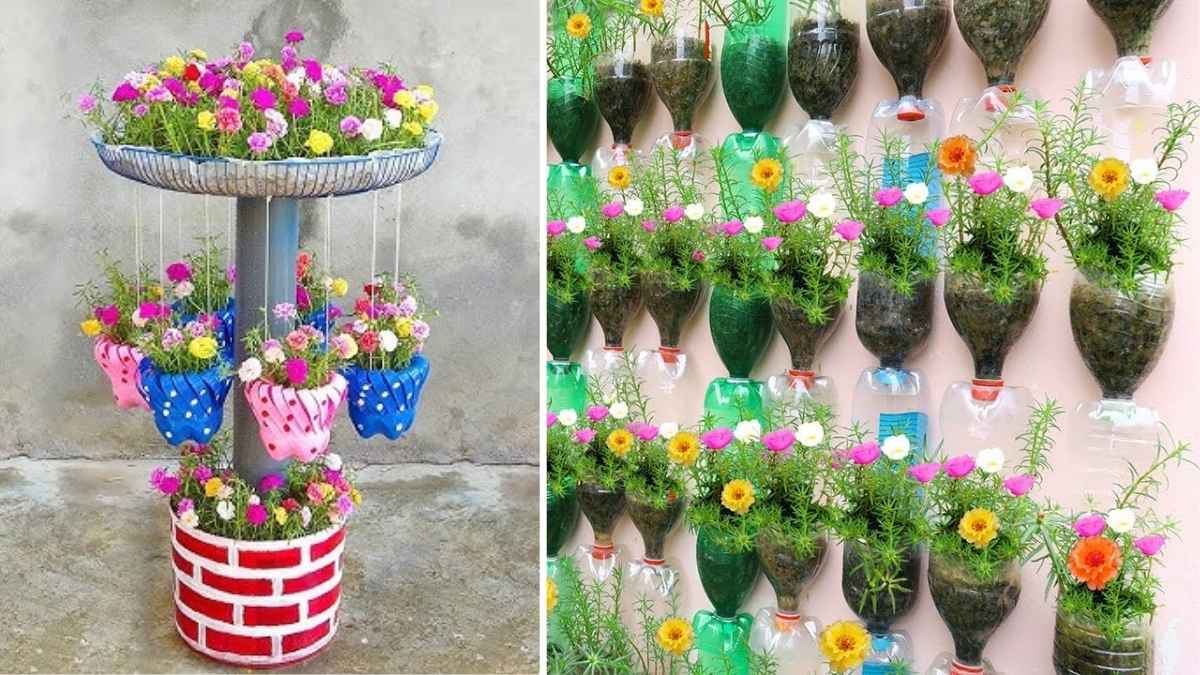
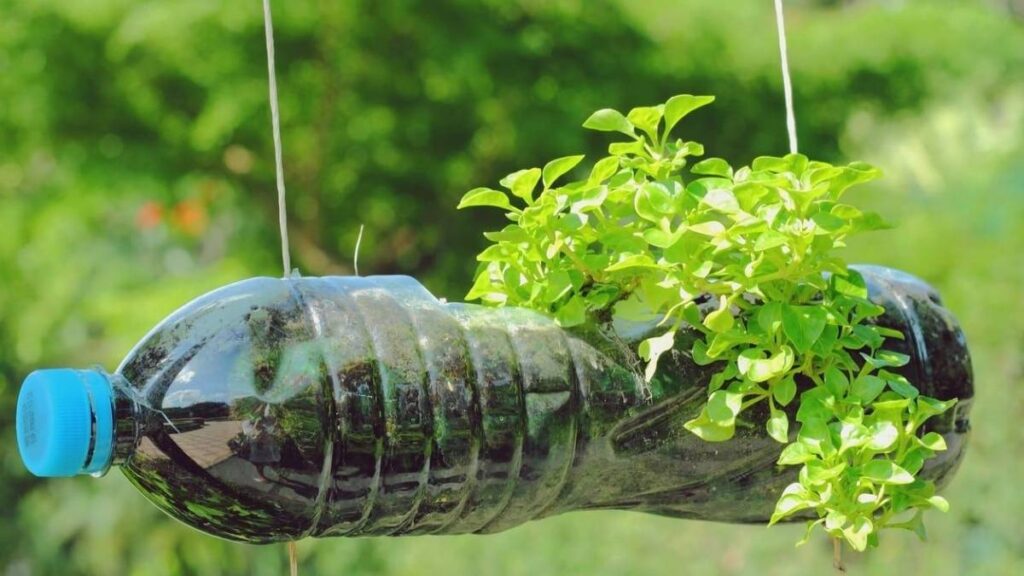
Creating a bottle garden is one of the easiest and most rewarding ways to bring nature into your home. It is a fun, eco-friendly project that doesn’t require much space or maintenance. A bottle garden can brighten up your living area, add a touch of green to your workspace, and even purify the air around you. Whether you live in a small apartment or a large house, this little green world inside a bottle can become a beautiful centerpiece. Here’s a simple guide to help you build your own stunning bottle garden in just seven easy steps.
Step 1: Choose the Right Bottle
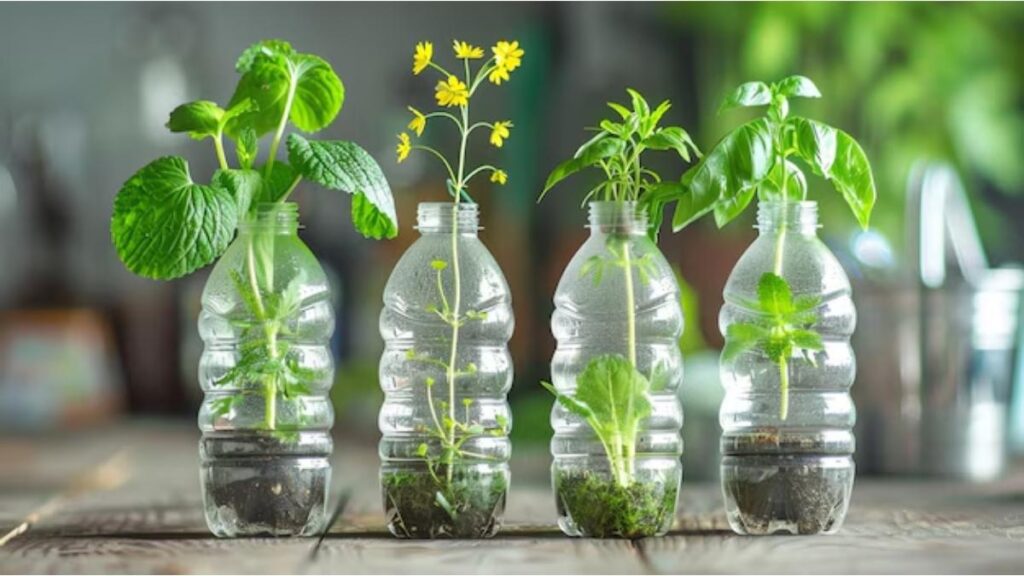
The first thing you need to do is pick the right container. You can use an old glass bottle, a jar, or even a transparent plastic bottle. Make sure it’s clean and clear so you can see the layers inside. The size of the bottle depends on the kind of plants you want to grow. If you choose small plants like moss or succulents, a medium-sized bottle will work well. It’s best if the bottle has a wide opening so you can easily place soil and plants inside. You can also use bottles of different shapes to give your garden a unique look.
Step 2: Clean and Prepare the Bottle
Before starting, clean the bottle properly. Wash it with mild soap and water to remove any dirt or residues. Dry it completely before adding anything inside. If the bottle has a narrow neck, you can use long tweezers or chopsticks to place the materials. Proper cleaning ensures your plants stay healthy and prevents mold or bacteria from growing inside. A clean bottle also allows light to pass through easily, helping your plants grow better.
Step 3: Create a Drainage Layer
In a regular garden, excess water drains away through the soil, but in a closed bottle garden, there’s no drainage hole. That’s why you need to make a drainage layer at the bottom. Start by adding small pebbles or stones to create space for water to settle. On top of that, you can add a thin layer of activated charcoal. This helps absorb any odor and keeps the soil fresh. The drainage layer prevents water from collecting at the bottom and keeps your plant roots from rotting.
Step 4: Add Soil and Plant Carefully
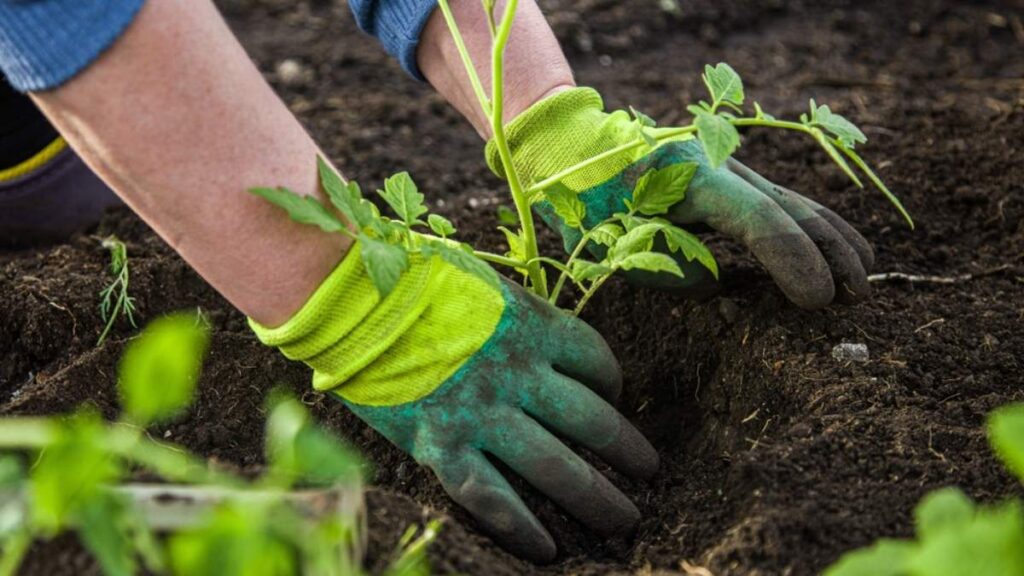
After setting up the drainage layer, it’s time to add soil. Use good-quality potting soil suitable for the plants you’ve chosen. Gently fill the bottle with soil up to one-third or half its height, depending on the plant’s size. Make small holes in the soil where you’ll place your plants. Carefully insert the plants using a spoon, stick, or tweezers if the opening is narrow. Pat the soil around the roots to keep them firm. Be gentle while planting, as delicate roots can get damaged easily.
Step 5: Choose the Right Plants
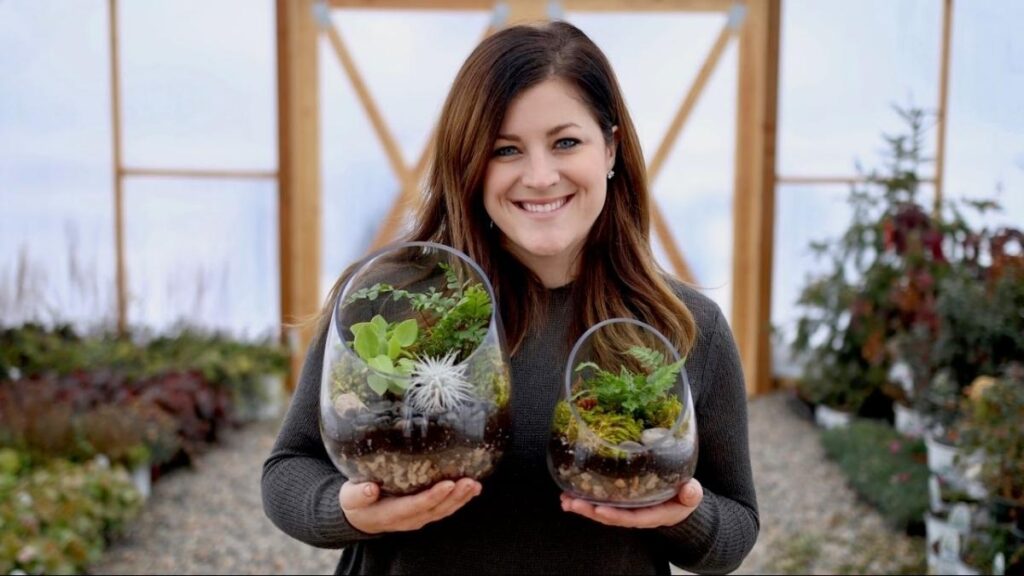
Selecting the right plants is the key to a beautiful and long-lasting bottle garden. Go for small, slow-growing plants that don’t need much pruning. Some great options are ferns, moss, succulents, air plants, or small herbs like mint and thyme. Make sure all the plants you choose have similar light and water needs. If you’re creating a closed bottle garden, choose plants that love humidity, like moss or ferns. For an open bottle garden, succulents and cacti are perfect because they prefer dry conditions.
Step 6: Water and Seal the Garden
Once your plants are in place, water them lightly. Avoid pouring too much water, as it can cause the roots to rot. A spray bottle is best for this purpose because it gives you more control. If you’re making a closed bottle garden, you can seal it with a lid or plastic wrap to create a mini-ecosystem. The moisture inside will recycle itself through evaporation and condensation. For open gardens, leave the top uncovered to allow air circulation. After watering, place the bottle where it can get indirect sunlight.
Step 7: Maintain and Enjoy Your Green Space
A bottle garden is low-maintenance, but it still needs some care. Check the soil regularly to make sure it’s not too dry or too wet. If you notice too much condensation, open the lid for a few hours to let some moisture escape. Trim any dead leaves to keep your garden looking neat. You can also clean the inside of the glass from time to time to keep it clear and shiny. With a little attention, your bottle garden will stay fresh and lively for months, even years.
The Joy of Having a Bottle Garden
Building a bottle garden is not just about planting; it’s about creating a small world of life inside your home. It adds beauty and peace to your surroundings and connects you to nature in a simple way. Watching plants grow inside a tiny bottle gives a sense of satisfaction and calm. You can also gift a handmade bottle garden to friends or family it’s a thoughtful and personal present that symbolizes care and life.
Creating a bottle garden is easy, creative, and rewarding. With just a few materials and a little patience, you can build your own miniature green space that brings nature closer to you every day. Follow these seven simple steps, and soon you’ll have a stunning bottle garden that brightens your home and your mood.