
Rose plants are a beautiful addition to any garden, and propagating them at home can be a rewarding experience. Whether you’re looking to expand your rose garden or share your roses with friends, propagating them is easier than you might think. In this guide, we will walk you through seven simple steps to propagate rose plants successfully at home.
Step 1: Choose the Right Time for Propagation

The best time to propagate roses is during the growing season, ideally in the early summer or late spring when the plant is actively growing. This is when rose cuttings have the highest chance of rooting successfully. Avoid taking cuttings in the winter when the plant is dormant, as they are less likely to root during this time.
Step 2: Select a Healthy Rose Cutting

Start by selecting a healthy, disease-free rose plant to take a cutting from. Choose a stem that is not too young or too old. The ideal cutting should come from a semi-woody stem, which is flexible but still somewhat firm. Look for a stem that has recently bloomed or is about to bloom, as this is often the best for propagation.
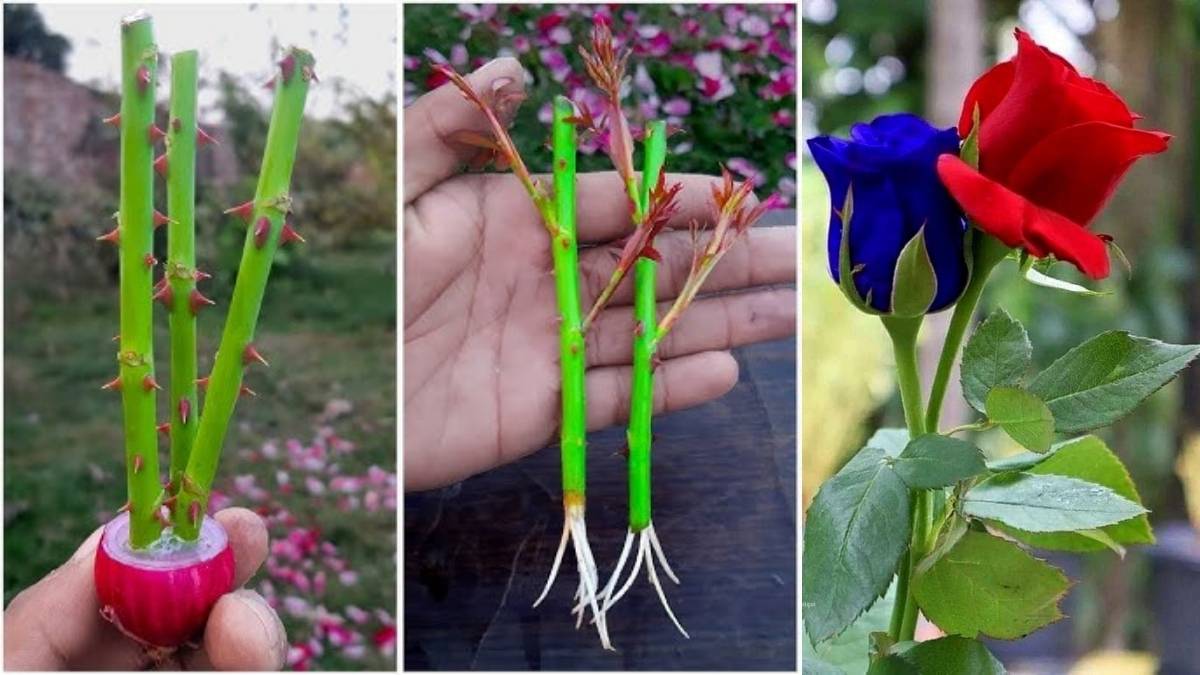
Using clean, sharp pruning shears, cut a 6-8 inch long section from the stem. Make the cut just below a leaf node (the small bump on the stem where leaves grow). This is where the roots will form, so it’s crucial to cut right below the node.

Step 3: Prepare the Cutting
Once you’ve taken the cutting, remove the leaves from the bottom half of the stem. This helps reduce water loss and encourages the plant to focus on growing roots rather than keeping the leaves alive. Be careful not to remove too many leaves from the top, as they help the cutting absorb sunlight and produce food.
If there are any flowers or buds on the cutting, it’s best to remove them as well. This allows the cutting to use its energy to develop roots instead of focusing on producing flowers.
Step 4: Apply Rooting Hormone
Rooting hormone is a helpful tool in increasing the chances of successful rooting for your rose cutting. Dip the cut end of the stem into a rooting hormone powder or gel. This stimulates the cutting to develop roots faster and strengthens the rooting process. While using rooting hormone is optional, it can significantly increase the success rate of propagation.
If you don’t have rooting hormone, you can use natural alternatives like honey or cinnamon, which also have some rooting properties.
Step 5: Plant the Cutting

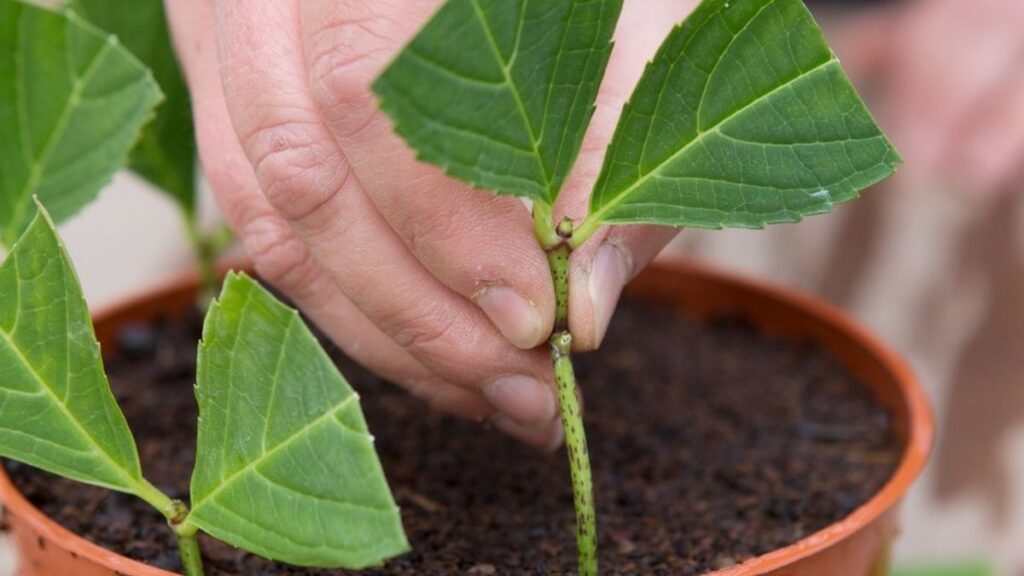
Now it’s time to plant your cutting. Fill a small pot with a well-draining potting mix. You can use a mix of equal parts perlite and peat moss or buy a ready-made rooting mix from the store. Make a small hole in the soil with a pencil or your finger, and carefully place the cutting into the hole. Press the soil around the cutting gently to ensure it stands upright.
Make sure the cutting is placed in the pot deep enough so that the node where you made the cut is buried in the soil. This node is where the roots will begin to grow, so it needs to be in contact with the soil.
Step 6: Create the Right Environment

Rose cuttings need warmth, humidity, and indirect light to root successfully. To create the ideal environment, cover the pot with a plastic bag or a clear plastic dome. This will trap moisture and create a greenhouse-like effect around the cutting. Be sure to leave a small gap for ventilation to prevent mold from growing.
Place the pot in a bright, but indirect light location. Avoid direct sunlight, as it can cause the cutting to dry out or overheat. A spot near a window with filtered light or under a grow light is ideal.
During the rooting process, it’s important to keep the soil slightly moist but not too wet. Overwatering can lead to rot, while underwatering can cause the cutting to dry out. Check the soil regularly to ensure it’s not too dry or soggy.

Step 7: Wait for Roots to Develop
Rooting takes time, and you should be patient as your cutting develops roots. Generally, rose cuttings will start to root in about 2 to 4 weeks, but it can take longer depending on the type of rose and the conditions in which it’s placed. To check if roots have formed, gently tug on the cutting. If you feel resistance, it’s a sign that roots are beginning to grow.
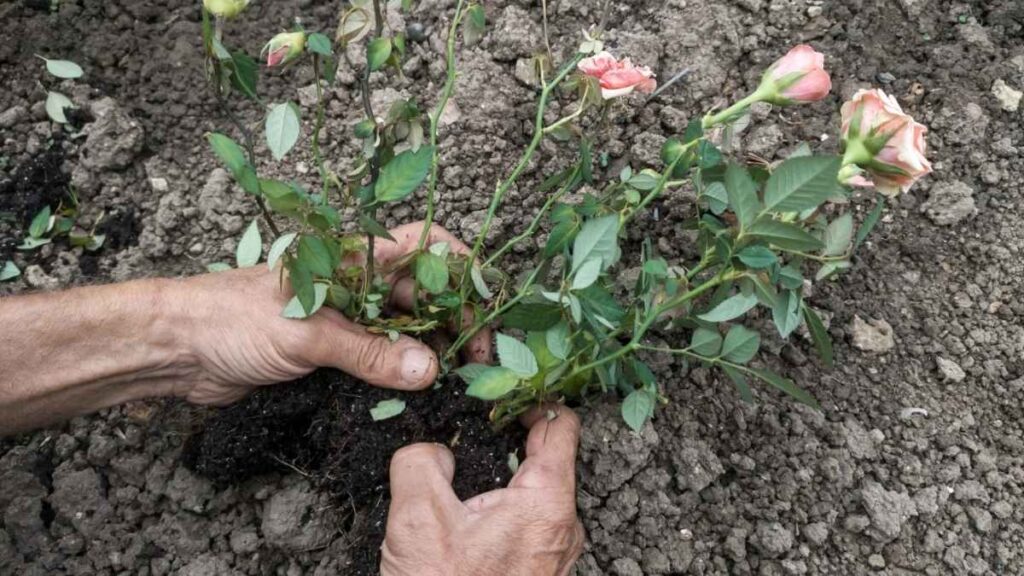
Once roots have formed, and the cutting shows signs of new growth, it’s ready to be transplanted into a larger pot or into your garden. Before doing this, it’s a good idea to gradually acclimate the new plant to outdoor conditions by slowly increasing its exposure to direct sunlight over a week or two.
Conclusion
Propagating roses at home can be a fun and rewarding gardening project. By following these simple steps choosing the right time, preparing the cutting, using rooting hormone, and creating a suitable environment you can successfully grow new rose plants from your existing ones. With a bit of patience and care, you’ll soon have a beautiful collection of roses to enjoy in your garden or share with friends and family. Happy gardening!