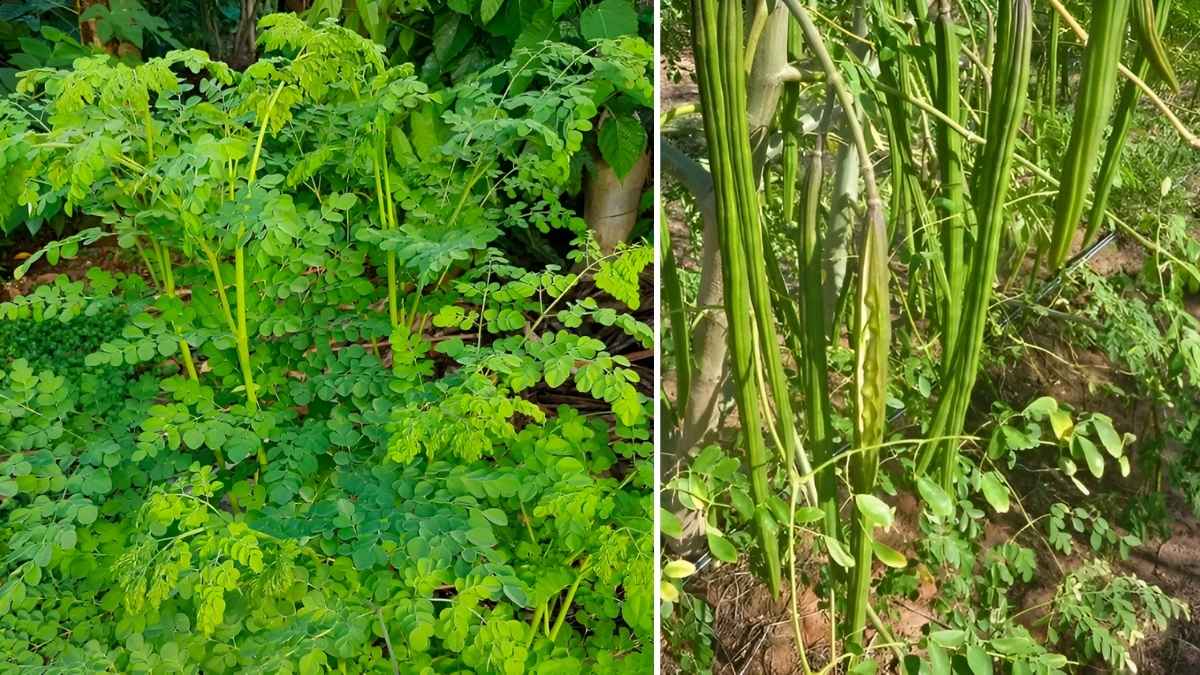
Drumstick plants, also known as moringa, are a nutritious and versatile addition to any backyard garden. These plants grow quickly and can thrive in a variety of climates, making them a great choice for gardeners looking for an easy-to-care-for, fast-growing plant. Whether you’re interested in the health benefits or simply want to add a unique plant to your garden, here are seven simple steps to cultivate drumstick plants.
1. Choose the Right Location
The first step in growing drumstick plants is to pick the right spot in your backyard. Here are a few things to consider:
- Sunlight: Drumstick plants need full sun for at least 6 hours a day to thrive.
- Temperature: These plants prefer warm climates and are not frost-tolerant. Make sure the location is sheltered from cold winds.
- Soil: The plant grows best in well-drained, sandy to loamy soil. If your garden has heavy clay soil, consider planting in raised beds or large pots.
2. Prepare the Soil

Before planting, it’s essential to prepare the soil for the drumstick plant:
- Soil Type: Moringa plants prefer slightly acidic to neutral soil (pH between 6 and 7).
- Compost: Add organic compost or well-rotted manure to the soil to improve its nutrient content.
- Drainage: Make sure the soil drains well. Drumstick plants don’t like their roots sitting in water, so proper drainage is essential.
3. Propagate the Plant

There are two common methods for propagating drumstick plants: from seeds or cuttings.
- Growing from Seeds:
- Soak the seeds overnight to soften their hard outer shell.
- Plant the seeds about 1 to 2 inches deep in the soil.
- Space the seeds about 3 feet apart to allow for proper growth.
- Growing from Cuttings:
- Take a healthy cutting from a mature drumstick plant (3-4 feet long).
- Plant the cutting directly into the soil, ensuring it’s well-watered and kept moist to encourage root development.
4. Watering and Moisture Needs

Drumstick plants are drought-tolerant but need consistent watering while they’re young. Here are some watering tips:
- Young Plants: Water them regularly to keep the soil moist, but not waterlogged.
- Established Plants: Once the tree matures, it can handle dry conditions, and watering can be reduced.
- Avoid Overwatering: Ensure the soil drains well to avoid root rot.
5. Fertilization and Maintenance

To support healthy growth, it’s important to fertilize the plant:
- Organic Fertilizer: Use compost or a balanced organic fertilizer every 2 to 3 months. This helps the plant grow faster and produce more leaves and pods.
- Pruning: Regularly trim any dead or damaged branches to keep the tree healthy and encourage new growth. Pruning also helps control the size of the plant.
- Weeding: Keep the area around the plant clear of weeds, as they compete for nutrients and water.
6. Pest and Disease Control
Although drumstick plants are fairly resistant to pests, they can occasionally be affected by insects or diseases. Here’s how to keep your plant healthy:
- Common Pests: Aphids, whiteflies, and caterpillars can sometimes attack the plant. Keep an eye on the leaves and stems for signs of pests.
- Natural Remedies: Use neem oil or an organic insecticide to deal with pests. These solutions are safe and effective.
- Fungal Infections: Avoid overwatering and ensure the plant has good air circulation to prevent fungal diseases. If you notice any mildew or fungal growth, remove affected leaves and treat the plant with an organic fungicide.
7. Harvesting and Enjoying the Benefits

The drumstick plant offers various parts for harvesting, including its pods, leaves, flowers, and roots. Here’s how to harvest each part:
- Drumstick Pods:
- Wait for the pods to reach 12 to 18 inches in length before harvesting.
- Cut the pods when they’re light green and firm. You can use them in soups, stews, and curries.
- Leaves:
- The leaves are highly nutritious and can be harvested year-round. Pluck them off the branches and use them in salads, smoothies, or soups.
- Flowers:
- The flowers are also edible and can be used to garnish dishes or made into herbal tea.
- Roots: The roots can be used in traditional medicine, but be cautious and only use them if you’re sure about their proper preparation, as they can be toxic in large amounts.
Conclusion
Growing drumstick plants in your backyard is both easy and rewarding. By following these seven simple steps, you can enjoy a continuous supply of fresh drumsticks, nutritious leaves, and flowers throughout the year. Whether you grow them for their culinary uses or their health benefits, drumstick plants are a great addition to any garden. Start with the right location, prepare the soil well, and ensure regular care, and you’ll soon be harvesting your own homegrown drumsticks!


